
Last Updated on September 17, 2022
When you are trying to paint on glass, the last thing you want is to have bubbles. Bubbles in glass painting can ruin your masterpiece. Here are some tips for avoiding bubbles in glass painting. First of all, clean the glass before painting it. Clean the glass with alcohol or nail polish remover and use a clear tar gel to avoid bubbles. If your glass is clean, you can apply acrylic paint to it.
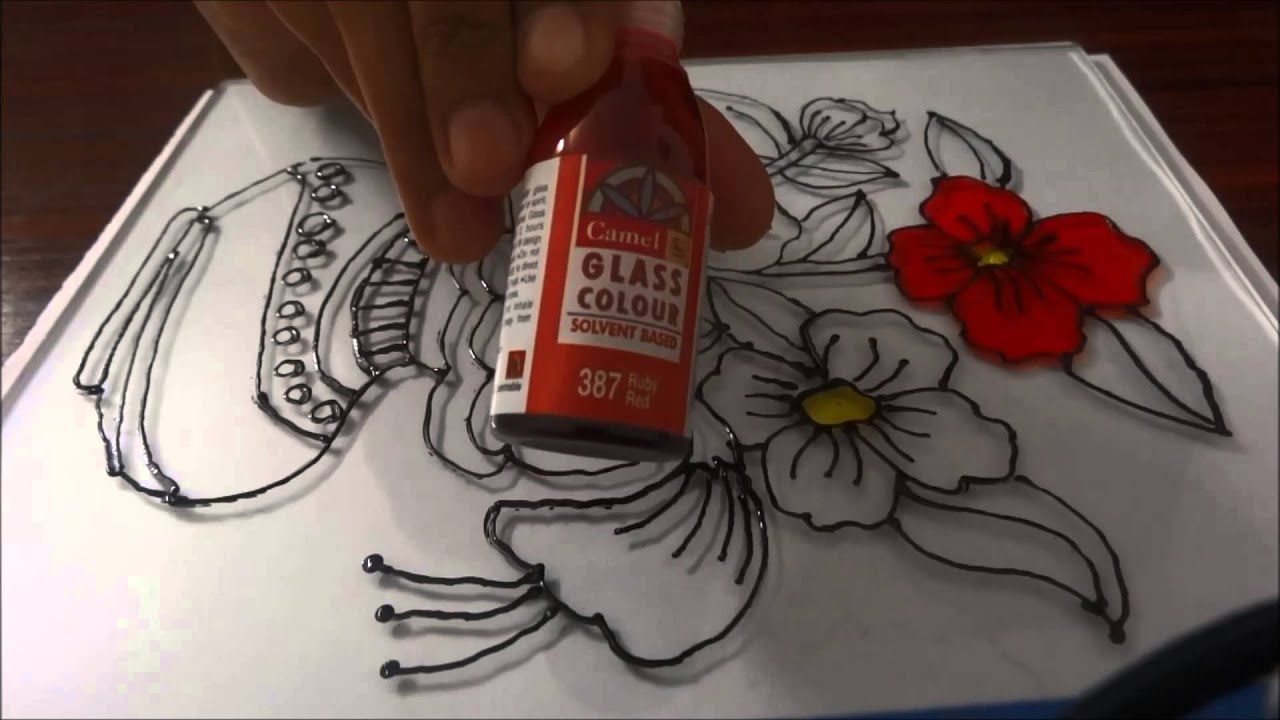
Clear Tar Gel
If you are an artist, then you are probably wondering how to use Clear Tar Gel to avoid bubbles in glass paint. Using this type of paint is not easy, and there are some tips that will help you achieve your goal of bubble-free glass painting. First of all, you should use it sparingly. The thinner you apply it, the better, as thick layers can develop spots of mold or mildew. Also, you should not paint it on surfaces that are absorbent or that have frozen. Also, do not use Clear Tar Gel in conjunction with oils, as these will cause bubbles and foam.
Using a hair dryer or heat gun can cause tar gel to crack or craze, so you must avoid using these methods. Apply it thinly and let it dry in room temperature before adding a new layer. If it becomes wet, it will turn into cloudy fog. Do not apply the next layer of paint without completely drying. Otherwise, you will experience a bubble-free glass painting that is both beautiful and safe.
If you want to avoid bubbles while glass painting, you should use clear tar gel. Clear tar gel will be stringy and whitish when wet, but it will dry clear. It will also self-level after application. Once applied, the gel will leave a smooth, glossy finish. You can also use a paint brush with clear tar gel to get a better finish on your glass.
Baking acrylic paint
The bake method is an easy and safe way to keep acrylic paint permanently on your surface. This method does require high temperatures, but a standard kitchen oven can be used. Once baked, your finished piece is safe to eat and wash. While the bake method will not prevent bubbles, it does make painting on glass much easier. This is a very versatile technique that will give your glass painting a nice glossy finish.
To make your glass painting more resistant to bubbles, you must first prime it with an all-purpose sealer. After the primer is applied, you should allow the glass to dry for 72 hours. If you don’t bake your glass surface, your acrylic paint will not adhere properly. After the glass has dried, you can add varnish and finish the glass painting. Once the glass has completely dried, you can then paint over it. Just remember to use a synthetic brush to apply varnish.
When painting on glass, it is important to allow the paint to dry completely. You should apply three coats and allow each to dry thoroughly before continuing. Once the glass is dry, leave it to dry in the air for at least 20 days. Keep the painted glass away from food and drinks, as they will damage it. You should also keep acrylic paint out of the reach of children, flames, and any other sources of combustion.
Thinning the paint
When you’re painting on glass, you’ll want to keep in mind that the paint needs to find its level on its own. If you try to move the paint around, it will cause blistering and cracking. This can be very visible, especially in close-up scenes. Fortunately, there are some tricks that can help you avoid this. The following tips should help you get started painting on glass.
Use a paintbrush with similar consistency. If you mix paints of different consistencies, they will produce a different effect when dry. Before you begin painting, try a small amount of paint on a tissue and test it on a piece of glass. When mixing acrylics, remember that different consistency will produce different results. To avoid bubbles, don’t thin the paint too much, or it will fire off.
Always start by applying a thin layer of paint. Thinner paint will help it evaporate more easily because air can’t get trapped between the paint layers. Make sure to test the colors with a small amount of paint and allow the paint to dry before proceeding. If it doesn’t work well, add more paint. A thin layer of paint is easier to remove than a thick one. Thin paint is essential to avoid bubbles when painting glass.
Cleaning the glass before painting
For a flawless painting job, you must clean the glass piece thoroughly. Use rubbing alcohol to clean the surface, and wear latex gloves to protect your hands from oils. It is also wise to clean the glass with white vinegar or rubbing alcohol, as they will prevent oils from transferring to the glass. After cleaning the glass, you should use a permanent marker to outline the design on the glass, and follow the paint manufacturer’s instructions.
You may also use a paper towel to clean the glass. If the glass is wet, a paper towel will lift the paint off the glass. You may need to use paint thinner if you are using enamel paint. Once you have painted your glass, wait about 10 minutes before removing the old paint. You should do this only on the parts that you want to re-paint. If you’re painting multiple pieces, let one color dry completely before moving to the next. This will minimize bubbles and mistakes that can be easily corrected.
Before you start painting, you must clean the glass to remove paint and any thin layer of paint. To remove this thin layer, you can use rubbing alcohol, newspaper, or alcohol-based hand sanitizer. To remove the remaining paint, you must scrape the glass. This will reveal the reaction of the paint surface. If you notice a bubble or streak of paint on the glass, you must clean it before painting.
Creating a surface that adheres to the paint
Before you can begin painting, you must prepare the surface of the glass. Make sure it is clean by rubbing alcohol or using a paper towel to remove any residue. Use latex gloves to avoid depositing your body oils on the glass. Read the instructions that come with paint products before using them. Not following these instructions may result in flawed results. Before you begin painting, draw out the design on a piece of paper. You can then trace this outline onto the glass using a permanent marker.
When painting glass, you must create a surface that will adhere to the paint. PVA can lead to bubbles. Pouring medium is a better alternative to PVA. Pouring medium should be mixed gently and allowed to sit for at least 10 minutes before painting. It is important to avoid standing or agitating while pouring the paint, as this can cause bubbles.
Creating a surface that adheres to a paint is essential to avoiding bubbles in glass painting. The first colour should be dry before adding a second one. The second colour should be applied after the first one has dried. This will ensure a seamless finish. By following the instructions, you can produce a beautiful piece of artwork! And don’t forget to keep in mind that the paint is not permanent and may peel off.
Precautions to avoid bubbles
There are certain precautions you must take before painting on glass. First of all, make sure that the surface is clean and dry before applying the paint. You can also make sure that the paint dries properly by following the manufacturers’ directions. If you do not, then the paint will start to bubble. Bake it for about thirty to forty five minutes. If the glass is not suitable for baking, you can use a hairdryer on low heat.
Another important precaution is to avoid excessive application of paint. Avoid brushing too much paint onto the surface. Using a small brush will help prevent bubbles and give a smooth finish to the finished product. Try to avoid using the same brush for each painting session, as this could cause your glass painting to bubble. You can also try to use a paintbrush to create swirls, squiggles, and outlines.
If you are using liquid colors, you can use an applicator sponge to apply the paint evenly. You can also use a slightly frosted sponge instead. The paintbrush should be the appropriate size for the design you are painting. Alternatively, you can use a wider, flat brush. Remember to wear latex gloves while painting on glass. These gloves will help prevent the transfer of oils from your skin onto the glass. If you are painting on a larger piece of glass, annealing may be necessary afterward.
About The Author

Mindy Vu is a part time shoe model and professional mum. She loves to cook and has been proclaimed the best cook in the world by her friends and family. She adores her pet dog Twinkie, and is happily married to her books.