
Learning how to charge a hoverboard battery is essential for the safety of both you and your child. It is also important for you to keep the battery in a dry place away from flames and sparks. While you may want to charge the hoverboard yourself at first, it is a good idea to follow some rules that are set by adults to ensure the battery life of the hoverboard. If you follow these rules, the hoverboard battery will last longer and your child will have fun for hours on end!
Time required to charge a hoverboard
The time it takes to fully charge a hoverboard battery depends on the brand and model. Many brands of hoverboards take two to three hours to charge. To ensure you get the most out of your purchase, it is essential to follow some simple instructions when charging your hoverboard. You can check the charging progress and battery health on the notification part of the hoverboard. A green light will appear on the indicator panel when the hoverboard is fully charged.
The time required to charge a hoverboard battery varies from brand to brand, but a fully charged hoverboard should last for at least two to four hours. The battery should stop sucking power from the outlet after this amount of time. However, charging a hoverboard overnight can cause a house fire. To prevent this, only charge your hoverboard fully before riding it. While some hoverboards have a safety mechanism that prevents overcharging, it is a good idea to keep an eye on the battery level. Unless the battery is brand new, you should check its capacity periodically.
The time required to charge a hoverboard battery depends on the model. Higher end models usually take 1.5 to two hours, while cheaper versions may take anywhere from four to five hours to fully charge. Hoverboards can be easy to charge, and the process is fairly simple. To do so, turn off the power button and align the charging port with the groove on the hoverboard. Next, plug in the charger and wait for a solid red light to appear on the hoverboard. Then, you can use the hoverboard.
While charging your hoverboard, keep in mind the temperature. You do not want to charge it in a cold climate, as the temperature will cause excessive heat. Extreme temperatures can also damage the circuit board in your hoverboard. The right temperature will ensure the lifespan of your hoverboard, and give you a great ride every time. This guide will make charging easy and safe for you. It also includes instructions on how to use your hoverboard.
Types of hoverboard batteries
Hoverboard batteries come in many different varieties. The most basic and cheapest type is the basic battery cell, while the more expensive battery packs have higher capacity but last for shorter periods of time. There are two main sizes of lithium-ion batteries used in hoverboards, the 18650 and 22650. The 18650 battery pack has 20 cells, while the 22650 battery pack has 14 cells. If you’re looking for a long battery life for your hoverboard, you’ll want a high-quality, high-capacity battery.
The LiFePo battery is a long-standing and reliable choice for hoverboards, but it can be expensive. While it is still the most common hoverboard battery type, there are now new types of hoverboard batteries. LiFePO4 batteries offer a smoother ride, can handle a higher maximum weight, and can survive high temperatures. LiFePO4 batteries are also great value, because they’re very low maintenance and are safe for use in high-end electric vehicles.
Besides the types of hoverboard batteries, one must also consider the average slope of the terrain on which the hoverboard travels. While it’s common to assume that the most efficient way is to ride downhill, this is not the case. Uphill slopes require much more energy than flat land. Thus, flat land is the most practical hoverboard usage scenario. In addition, higher-speed acceleration demands more energy from the battery, so the better the flat land, the better the hoverboard battery life will be.
Once you have found a suitable type of hoverboard battery, you should check the voltage to ensure that it’s fully charged. The optimum hoverboard voltage is around 36v, but a fully charged battery will be somewhere between 36 and 42v. A fully charged hoverboard battery is usually rated for 40-60 days of usage. Depending on the model and manufacturer, you should check its voltage regularly, as overcharging can damage the circuit board or lead to a malfunction.
In addition to the size and shape of the battery, another important consideration when buying a hoverboard is the weight of the rider. The lighter the rider, the better. This is because weight directly correlates to the amount of force needed to propel the rider, and the heavier the rider, the more energy the hoverboard battery will have to produce. Bluetooth is also a common drain on hoverboard batteries, so making sure you’re not using it at the highest volume will significantly reduce your hoverboard’s battery life.
Charging hours
If you are considering getting a hoverboard, then you should learn about how to properly charge the battery. It will take two to three hours to recharge a hoverboard’s battery. The best batteries are the branded Samsung and LG models. Avoid the cheaper unbranded Chinese batteries, which are known to be the worst performing. The number of charging hours will vary depending on the battery type, rider’s weight, ground surface, and gradient. A newly purchased board will generally last between six to eight hours.
To charge a hoverboard, first, you must plug the charger into an electrical socket. Make sure the indicator light is not dim. After a couple of hours, the charger indicator light will turn green. Afterward, you can remove the charger. After two to four hours, you can use your hoverboard for up to 10 miles. Once your hoverboard battery is fully charged, make sure you charge it again before your next ride.
The charging hours for a hoverboard battery will vary based on the battery type and model. The best way to charge your hoverboard battery is to follow the instructions on the charger. Then, plug the charging port into a working outlet. Make sure the charging port light turns green before starting the charging process. Don’t forget to unplug the charger after you are done riding your hoverboard. Charging for long periods of time may damage the battery and decrease its life.
A hoverboard battery should have a small light near the charging pin. The light should glow red when the battery is charged, but it should be green once it’s fully charged. If the light is orange, your hoverboard needs a new battery. The charging process may take anywhere from two to five hours. As long as you follow these guidelines, your hoverboard will last a long time. If the battery is not charging, you should avoid using it until the battery is completely charged.
Repairing a hoverboard with a new battery
If your hoverboard’s battery has died, you can replace it with a new one. Before you do this, you should ensure that you have bought the right model of hoverboard battery and that it is UL2271-certified. These batteries are manufactured by Samsung and are considered to be the safest hoverboard batteries on the market. Once you’ve found the right battery for your hoverboard, you can begin the repair process.
First, you should find out what specific parts need replacing. Make sure you purchase replacement parts that are built to last and compatible with the original. To make sure you are buying the correct replacements, you should refer to the owner’s manual. This document will detail the exact specifications of replacement parts. If you don’t have one, it’s best to hire a professional technician. The problem may be related to the hoverboard wiring.
The charging port of your hoverboard may be misaligned. If the charger is not working properly, check that all pins are aligned and not broken. Also, make sure you’re using the right charger for your hoverboard. If your hoverboard’s charging port is orange or red, you need a new battery. To check the voltage of your hoverboard battery, use a voltmeter.
Once you’ve decided that a replacement battery is necessary, you can carefully remove the old battery from your hoverboard and install the new one. Make sure that the battery is compatible with the motor of the hoverboard, otherwise, the entire repair will be useless. Finally, you’ll need to connect the charging cable from the new battery to your hoverboard. Don’t forget to tighten the battery cage.
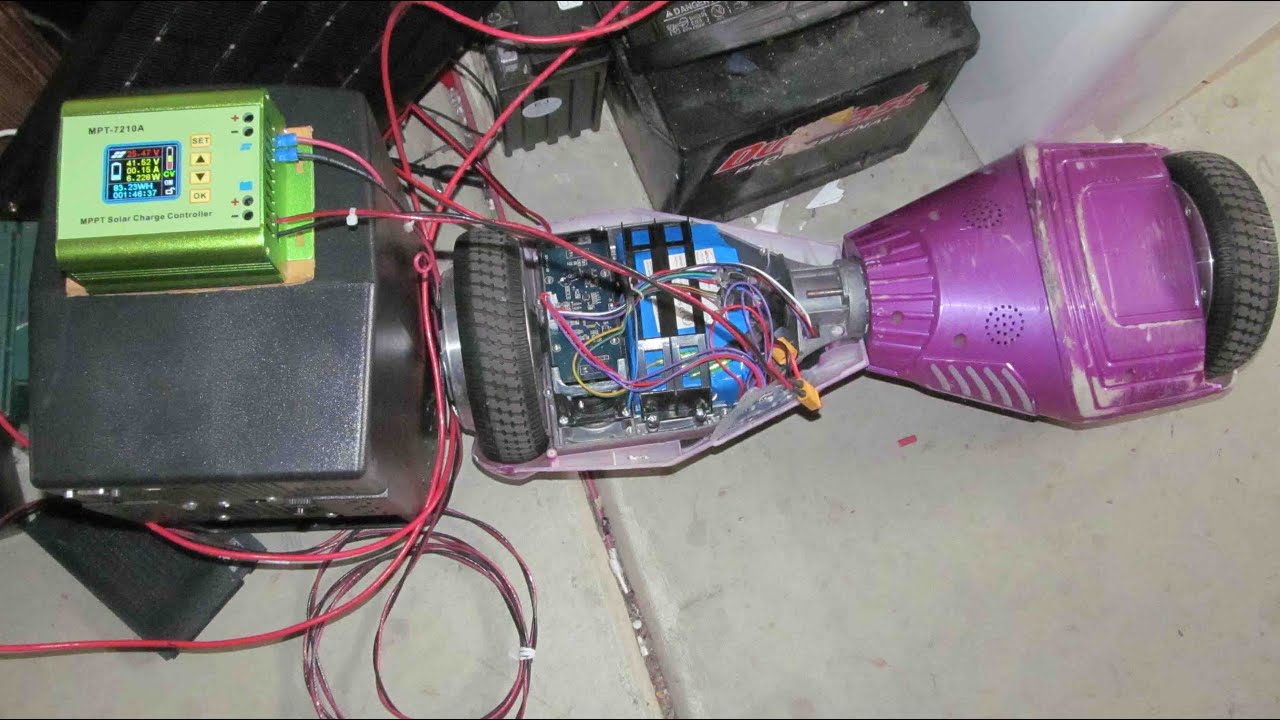
The basic hoverboard battery comes in a shrink-wrapped blue plastic casing, but older models may have a gray or green battery. Certified hoverboard batteries have a thermal sensing board and are housed in a plastic shell. The lower casing must also be removed and replaced, as well as any screws that hold the frame to the hoverboard. Once you’ve replaced the battery, you must reinstall the lower casing and the battery cable.
About The Author

Mindy Vu is a part time shoe model and professional mum. She loves to cook and has been proclaimed the best cook in the world by her friends and family. She adores her pet dog Twinkie, and is happily married to her books.