
If you are looking for an effective way to keep your car’s speakers in good shape, this article is for you. In this article, we’ll cover how to clean the grills and cones of your car’s door speakers and how to use a vacuum cleaner to remove any debris that may have collected. Also, we’ll cover how to clean the holes of your car door speakers. After reading this article, you’ll know exactly how to clean your car door speakers.
Cleaning speaker grills
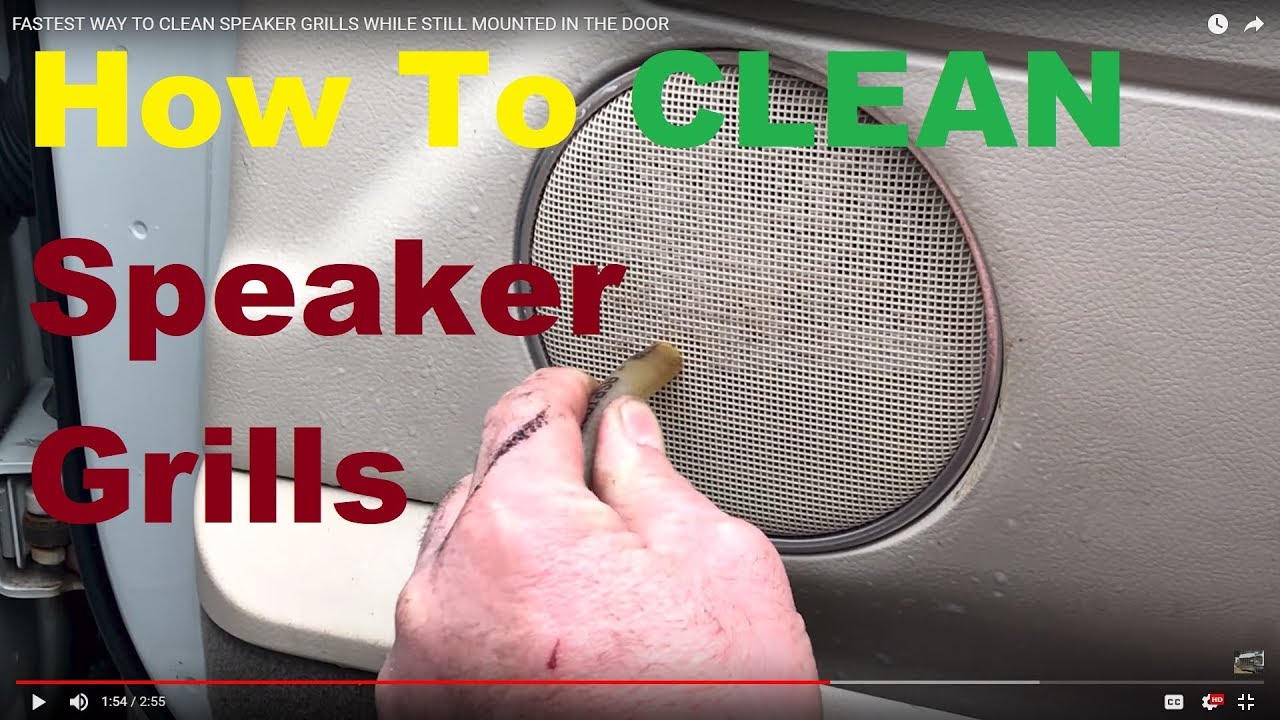
There are several methods of cleaning the speaker grills on your car’s door speakers. You can use a vacuum or a wand attached to a floor vacuum. You can also use a wet cloth and soapy water to clean the speaker grills. Make sure you use the correct cleaner as this could damage the speaker grill fabric. Then, use a dry cleaning spray to remove baked-on dust and grease.
After the speaker grills have been cleaned, you can spray them with a wet or dry cleaning solution. Then, wipe off the remaining water with a clean cloth. You should also dry the grills using a fan or sunlight. If you think you may have some mold on the speaker grill, you can soak it in a solution of water and vinegar to kill the fungus and mold. Once the grills are dry, you can wipe them off again with a soft cloth.
Sometimes, it’s not possible to remove the speaker grills safely. In such cases, you can use a lint roller or a can of compressed air. However, if your speaker grills cannot be removed, you can use a vacuum with a hose attachment. Make sure that you wipe off any excess grime with a cloth before replacing them. If the speaker grills are not removable, you can also use a dry cleaning spray to remove dirt.
Cleaning speaker cones
Carefully clean the speaker cones of your car door speakers by using a soft brush to gently brush away dirt, dust, and debris. Brush gently around the speaker cones, as the soft material is easy to damage. If the speaker cones are made of paper, do not use compressed air to clean them. A bulb duster or small soft bristle brush will work just fine, but be careful not to use compressed air near the speaker cones themselves. These can easily be damaged by a Swiffer dusting wand.
If you are using a vacuum, you can use a small hose attachment to reach the speaker cone. To make the cones more flexible, remove the speaker from its mounting bracket. Remove the speaker cone. Then, prepare the surrounding area by applying fingernail polish to the speaker cone. This will prevent it from tearing the paint. Apply the nail polish on both sides of the cone. Continue with this process until you are satisfied with the results.
If the speaker grills are removable, you can clean them by removing them and using a rag dipped in water or mild soap. Be sure to rinse the rag thoroughly before applying pressure, as excessive pressure can harm the internal components of the speaker. After cleaning, reattach the grill. Remove any stains or finger prints. Once you’ve cleaned all the speaker cones, replace the grills and place the wiring in their original locations.
Cleaning speaker holes
You can improve the quality of your music system by cleaning speaker holes in your car. Dirt and other debris can accumulate in the speaker holes over time. Proper cleaning of speaker grills will increase the efficiency of the speakers and help them project sound more effectively. Follow these steps to clean speaker grills. You will need a pair of tweezers. If you don’t know how to clean speaker grills properly, seek professional help.
If you’ve tried cleaning speaker grilles without success, you can use a toothpick to clean the speaker holes. Simply insert the toothpick into the speaker hole and wipe the surface with a soft cloth. The toothpick should be slightly damp so that it can adhere to dirt. Repeat this process several times to clean all the speaker grilles. Afterwards, you’ll need to wipe the entire surface again with a damp cloth to prevent any dust and dirt from resettling.
The speaker woofers inside your car’s door speakers can also get dirty. Use a soft cloth to clean them. Avoid using liquids, as they may cause damage to speaker mechanical parts. To make your speaker woofers and speaker holes as clean as possible, remove any spilled liquids that have settled on them. You can also clean the subwoofer’s tweeter by using a soft microfiber cloth and a dry cloth. Always remember not to use too much pressure while cleaning your speaker woofers or tweeters.
Cleaning speaker grills with a vacuum
If you have a speaker grill, you may be tempted to clean it with a vacuum. While this may work, it can scratch the speaker’s metal surface and damage its electronics. If you’d rather clean it manually, you can use a damp cloth to wipe away dirt. You can also use a toothbrush to clean the grill’s crevices. To be safe, do not get the speaker’s metal surface wet when cleaning the speaker’s grill.
If you must use a vacuum, you need to be extra careful to avoid damaging the speaker grill’s fabric. Make sure to use the dust brush attachment on your vacuum hose. Use a soft brush to avoid tearing the fabric of the speaker grill. Alternatively, you can use a dust-wiping cloth dampened with water or mild detergent to clean speaker grills. Be sure to rinse the speaker thoroughly after cleaning to avoid damaging its fabric.
Another option to clean speaker grills with a vacuum is to vacuum them using a hand-held or wand attachment on a floor vacuum. You should make sure that the vacuum is free of any loose particles and other objects before starting the suction process. A vacuum can also be used to remove dirt, fabric, and loose particles from the grill. You should clean the speaker grill with a hose extension at least once a week.
Cleaning speaker cones with a cloth
Often overlooked, cleaning the speaker cones on car door speakers can be a difficult task. The speaker cones are made of paper material and can easily get dirty. Using a microfiber cloth and compressed air can remove most of the dust. Once the grill has been removed, wipe the speaker cones with the microfiber cloth. Use gentle pressure while wiping the speaker cones. Do not apply too much pressure, as this will damage the speaker cone and diaphragm, which produce the sound.
If you want to clean the speaker cones yourself, you do not have to purchase expensive cleaning tools. A soft brush and compressed air will do the trick. Afterward, wipe down the edges of the cones with the cloth. If there is any moisture left after wiping, use a dry microfiber cloth. Don’t use water to clean the cones, as water can cause damage to the speakers.
For optimal performance, speakers have cones that are made of plastic or Douglas fir. In addition to these materials, some manufacturers use exotic blends of these fibers. Other materials include eucalyptus from Brazil, specialty pulps from New Zealand, and hemp family fibers. The specific type of material and the additives used affect the characteristics of the speaker cone. The resulting speaker cones must resist UV, fungus, and ozone.
Cleaning speaker cones with a vacuum
One way to clean a speaker cone is with compressed air or a bulb duster. Then, use a brush to gently wipe off the dirt. A microfiber cloth may also be used to clean the speaker cone, but you should be careful that it does not damage the sensitive driver. A vacuum cleaner with a hose attachment can be used safely on speaker cones. This method is safe for most types of speaker cones, and is not recommended for metal or paper ones.
Another easy way to clean your speaker cone is with a hose attachment and compressed air. Simply vacuum off the dust and then use a sealant to restore it. You can also use a dry microfiber cloth to wipe off the tweeter. Alternatively, you can use a can of air with a narrow nozzle to remove dust and debris. Using this method, you can dry the speaker cones in three to five minutes.
When cleaning a subwoofer, the cones are the most sensitive component. A soft brush and lint-free cloth are the best tools. Paper towels, however, will leave tiny bits behind. A wet cloth is better suited to cleaning the non-electronic parts. A dry cloth can be used to remove any stubborn stains. A wet cloth can be used to thoroughly clean the non-electronic parts.
About The Author

Mindy Vu is a part time shoe model and professional mum. She loves to cook and has been proclaimed the best cook in the world by her friends and family. She adores her pet dog Twinkie, and is happily married to her books.