
To make a round ball bullet mold, there are several steps you must take. First, determine the number of mold blocks you need. Next, drill the two blocks together, and then mill the nose portion of the mold to fit a pin. To do this, you can use a 3/4″ ballnose end mill and plunge it.375″ deep. When you have the mold blocks milled, slide the pin in place, and then make sure the nose portion slips into the block.
Materials
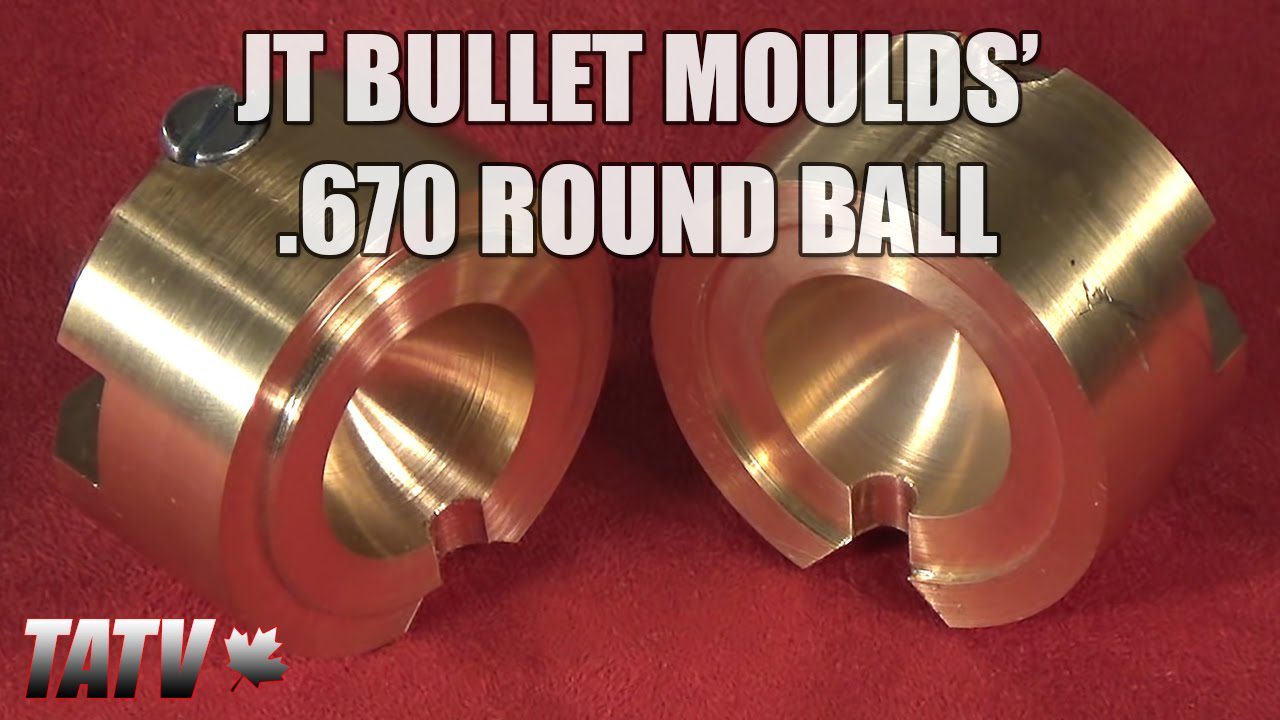
If you’re considering starting a home reloading business, you might be wondering what the materials for making a round ball bullet mold are. You’ll want to make sure that the mold will provide you with accurate round balls. One good option is to buy a Lyman(tm) round ball bullet mold. These are made of solid leaded-steel and have a super smooth finish. They also come with hardwood handles, but if you prefer wooden ones, they’re not included in the purchase.
You’ll also need a steel ball. You can purchase these on eBay, but you can also make your own by clamping two pieces of aluminum together to make alignment pins. Once these two pieces are glued together, you can drill them to make cavities for your steel ball. You’ll want to drill them to a depth that is slightly less than the finished cavity. If you’d like to use lead balls, you’ll want to use a steel ball.
Lead slugs are the most basic type of bullet. Lead slugs can be cast, extruded, or swaged. Lead can be tinned or alloyed with copper to reduce the lead deposits. While they are a good option for a low-velocity bullet, copper isn’t the best choice for a higher-velocity bullet.
Techniques
There are a few techniques that you can use when making a round ball bullet mold. The first step in making a round ball bullet mold is to purchase a steel ball. You can purchase this on eBay and make it yourself. Next, you will need to ream and drill the mold blocks. Lastly, you will need to drill holes in the bullet nose portion that will slip over the pin. You can use a 3/4″ ball nose end mill to do this. Then, you will need to plunge it down about a half-inch to one-half inch to form a cavity for the bullet.
Another technique for making a round ball bullet is to use lead slugs. Lead slugs are the most common bullet type. Lead slugs are fabricated, cast, or extruded. Lead can be tinned or alloyed with other metals to reduce lead deposits. Some people even add copper gas checks to minimize lead deposits, but this method is not suitable for higher velocities.
One of the most important factors in determining accuracy is the size of the bullet. Some people have trouble finding the right size mold for their barrel, so if you find one, use it as a guide. A perfectly sized mold may not be available, but you can make one that’s slightly undersize and then expand it with a file. You can also try using a macon conversion barrel section to get a good idea of how well the ball fits in the barrel.
Tools
If you want to make round ball bullets, you must first purchase the tools needed. These tools include an end mill, a mold plate, and a sprue cutter. The end mill needs to be made of tool steel that is hardened, tempered, and lightly deburred. Afterwards, the mold block needs to be drilled and reammed so that it can slip into place when the bullet is pressed into it. You can also use a 3/4″ ball nose end mill and plunge.375″ deep.
Cost
Making a round ball bullet mold is relatively inexpensive, but can be time-consuming. In addition to the mold, you will need to make the bullet nose alignment pin. The mold blocks will need to be drilled and reammed together. Once they are cut, the bullet nose will have to slip into the pin. Using a 3/4″ ball nose end mill, you can drill holes.375″ deep and then mill the nose portion of the mold block.
Casting process
To ensure that round balls are consistently produced, the casting process for a round ball bullet mold requires constant lubrication. Occasionally re-lubricating your aluminum mold is required to ensure a smooth casting process. If your mold blocks are difficult to slide and line up when closed, this indicates that your mold is lacking lubrication. A lack of lubrication can also cause the sprue plate to gall on the top surface of the mold.
About The Author

Mindy Vu is a part time shoe model and professional mum. She loves to cook and has been proclaimed the best cook in the world by her friends and family. She adores her pet dog Twinkie, and is happily married to her books.