
Last Updated on September 16, 2022
Why does paint look patchy when drying? The answer can vary, but the main causes are uneven application and a wet edge. There are also two other reasons for the uneven appearance of paint. First, it may have been painted over a surface that has a darker color. The other possible cause is overpainting. If you’re unsure of what is causing your paint to look patchy, read on to discover how to fix it.
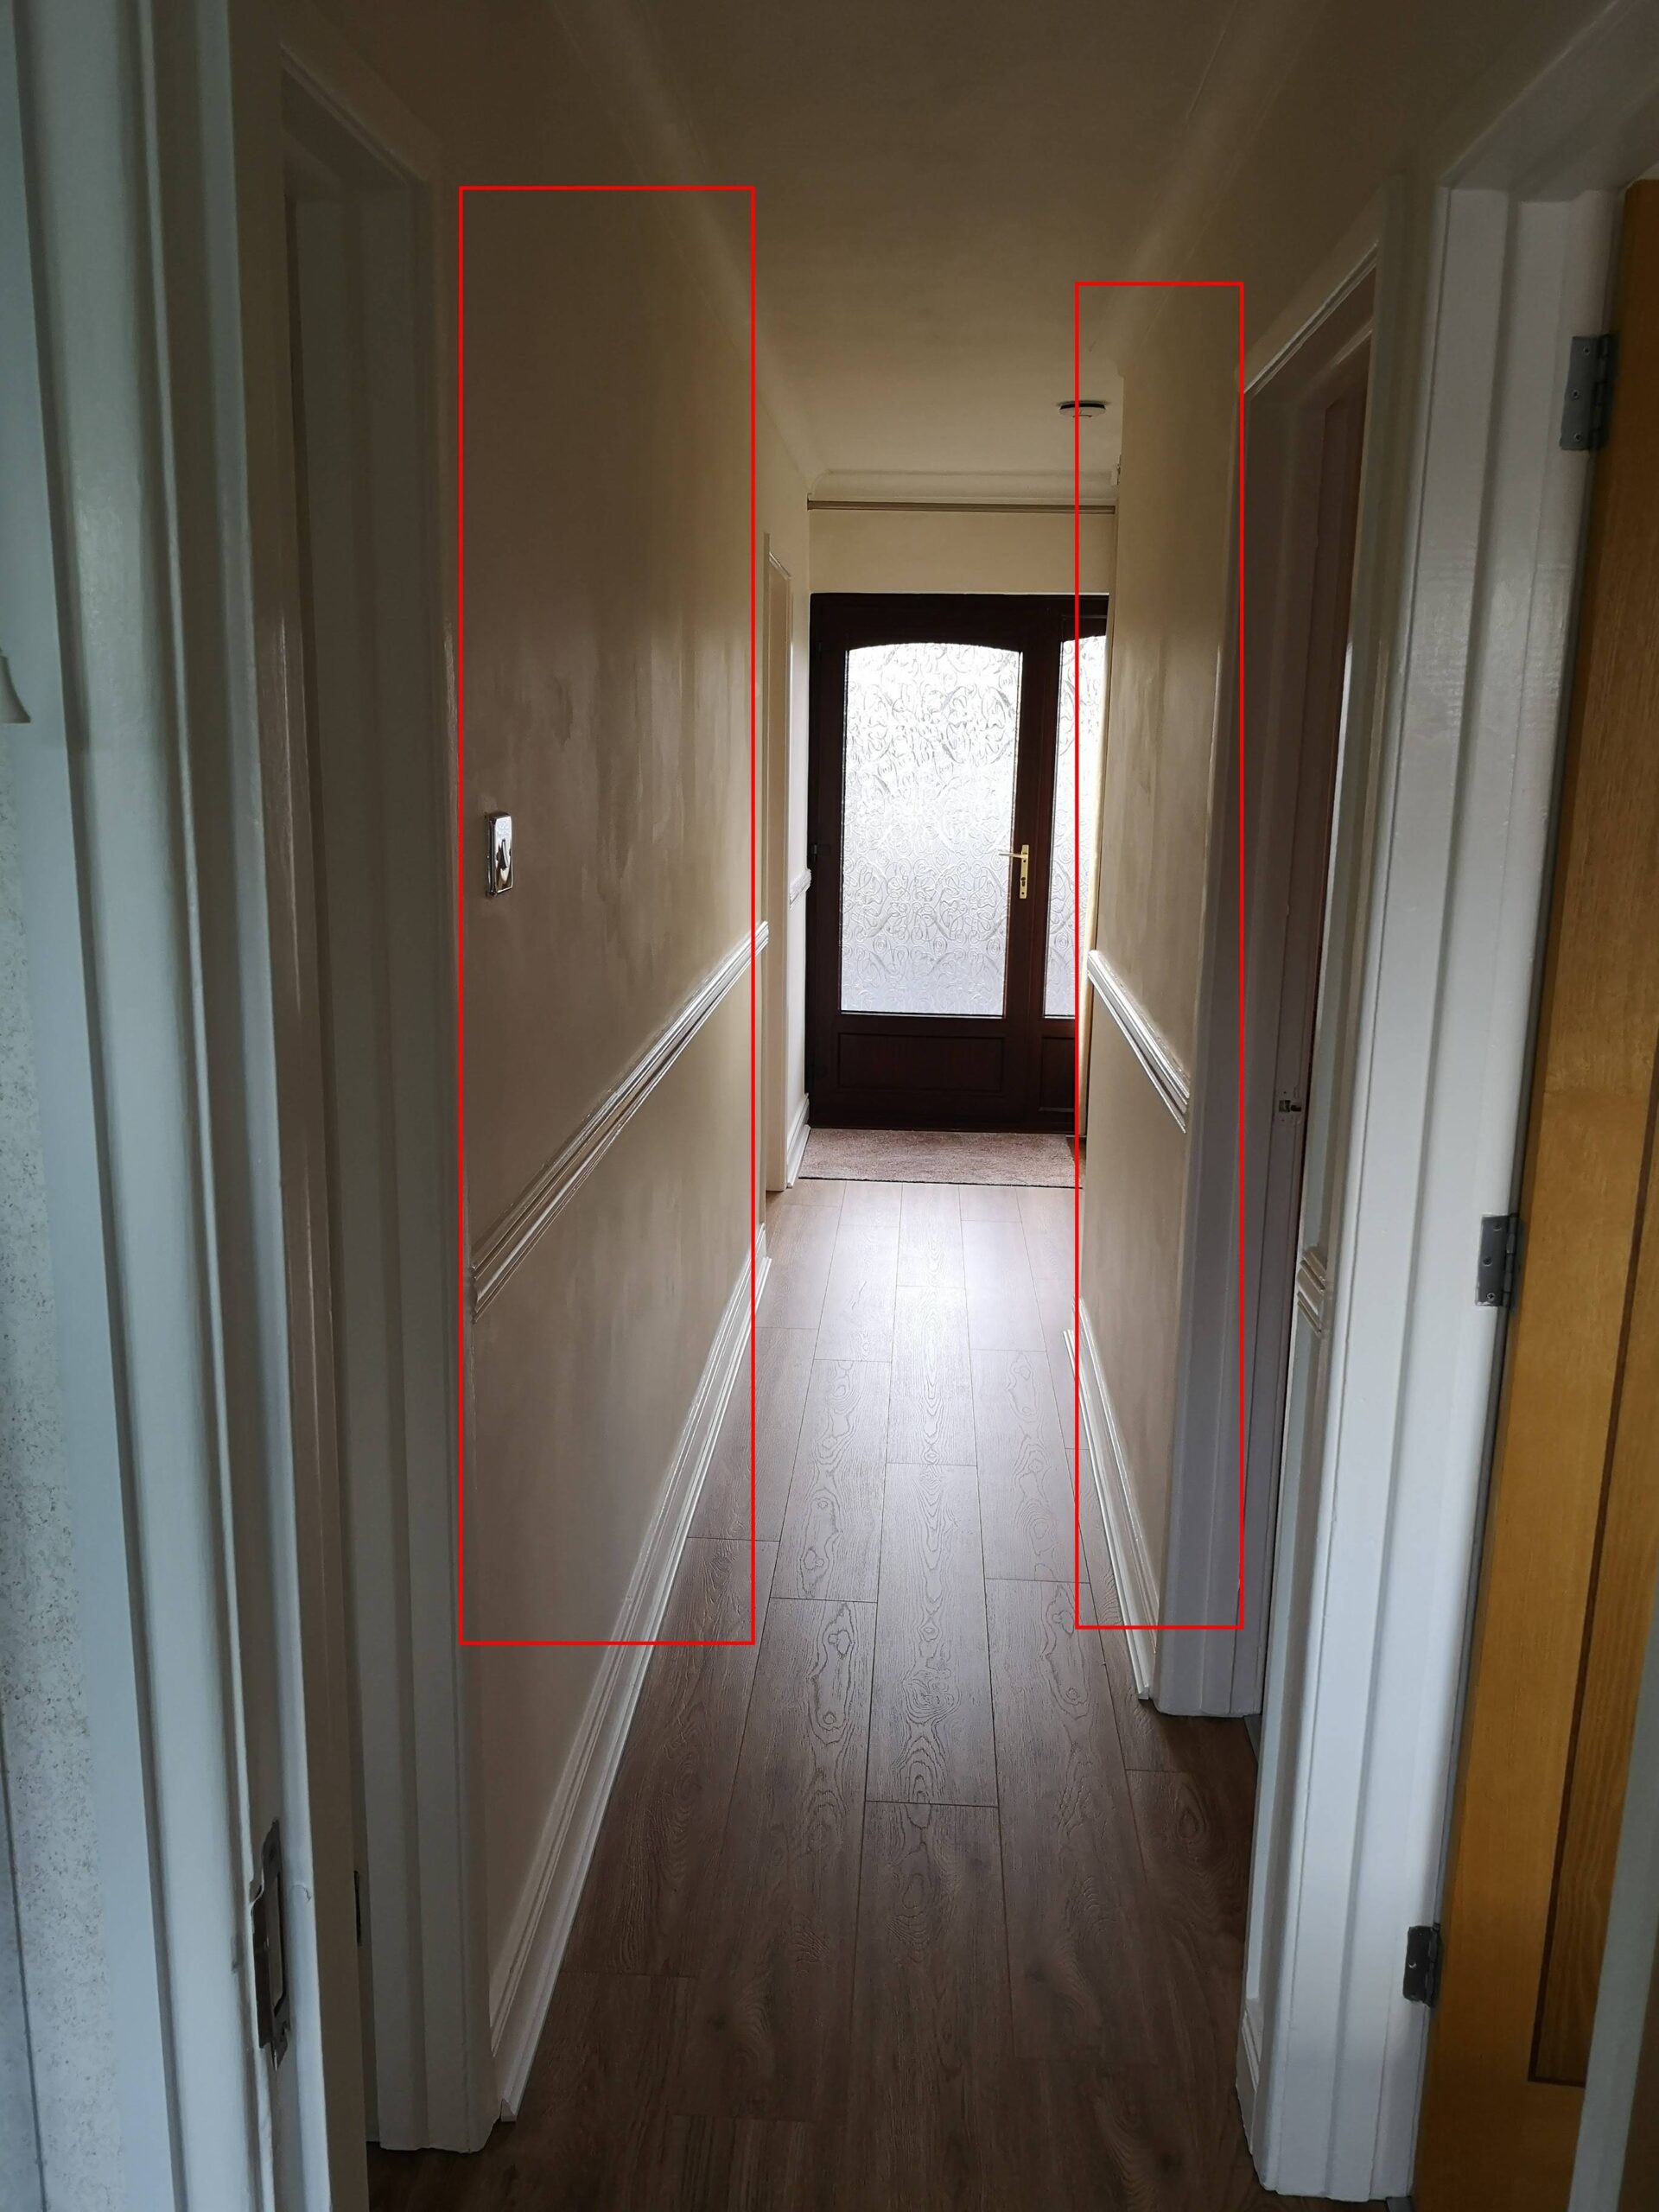
Swollen areas
The process of painting often results in swollen areas of paint. The water droplets, high humidity, and leaks all contribute to excess moisture on painted walls. Excess moisture can result in water-filled bubbles in the paint, which originate from the substrate layer or the top two layers. These bubbles are commonly observed in kitchens, bathrooms, and basements. To prevent this from happening, use a dehumidifier or air conditioner in the room where you plan to install a new paint application.
The problem of paint swelling is an old one. Some research has been done, but few studies have been conducted. Moreover, there are some limitations to the data that Stolow presented. Fortunately, the Courtauld Institute of Art in London is taking the lead by studying the relationships between the swelling power of paint films and the solvents used to apply them. This research will expand the foundation established by Stolow and examine a much broader range of paint films.
The swelling response of oil paints varies with their pH. Larger homologues – such as acetone – swell more rapidly than smaller homologues. However, large molecules like cyclohexanone are slower-diffusive. The effect of organic bases is comparable to that of neutral organic solvents, although it is difficult to compare the two. So, what determines the amount of swelling?
Swollen areas of paint when drying
Cracks
It’s normal to have cracks in your paint when it dries. They occur when paint shrinks as it dries, and are often caused by improper adhesion. Poor adhesion is caused by poor surface preparation, such as not prepping the wall sufficiently before painting. Other causes of cracks include heat, humidity, and poor application. You should know how to prevent them so they don’t occur again.
You can avoid these problems by following a few tips when painting. Make sure to dry the surface thoroughly. If the surface is still damp, it is best to avoid painting. If the paint is too wet, it will crack and peel. To prevent future problems, let previous coats dry completely before painting them again. Also, use a primer prior to painting to protect the surface from cracks. Once the primer has dried, you can start painting.
Cracks in paint when drying occurs when the paint film dries and shrinks. Between the cracks are islands of paint. The underlying layers of paint are revealed and are usually different colors. Many 19th-century English portraits display extensive drying cracks. Many of these paintings were painted with semi-translucent asphaltum, which gave them a rich appearance when they were young. While alligatored paint can still adhere well, it is not stable enough for a museum to eliminate the cracks.
Cracks in paint can also appear in the hairline. In this case, it is important to wait until the fresh coat has dried thoroughly, so that it adheres to the surrounding surface. If the cracks are larger, however, you may want to apply a filler or sand the entire surface before applying the new paint. If the cracks are small, they are usually easily hidden with a fresh coat. So, cracks in paint are easy to fix, and you won’t need to go through the painstaking process of repainting.
Orange peeling
The best way to prevent orange peeling when painting is to make sure you sand the paint with appropriate grit. Choose a grit of eight hundred to two thousand depending on the thickness of your paint. Dry sanding discs of 1,500 grit are typically used for this purpose, but you can also use wet sanding discs if the orange peel is too heavy to remove. Use a paint gauge to measure the thickness of the paint to prevent over-sanding.
A poor surface preparation is one of the main causes of orange peeling. The surface must be clean, free of dirt and oils, and free of stain products and peeling paint. If necessary, light sanding can remove any imperfections, which may cause the paint to flow unevenly. If the paint is already applied to the surface, caulk the entire area to create a smooth surface. But if the orange peel still persists, you may need to redo the painting job.
To prevent orange peeling, you must clean the rollers thoroughly after every use. Before painting, inspect the rollers for dents and dried paint. Replace any damaged rollers. This way, you can be assured of the smoothest possible finish. The first coat of paint is applied first. Then the second coat is applied. Don’t forget to check the paint rollers’ shape. If you notice any of these problems, make sure to redo the job immediately.
Another common cause of orange peeling when painting is spraying paint. When this method is used, it can cause the paint to atomize in a way that gives the paint a smoother, more consistent surface. Adding an extra layer of air to the paint can also improve atomization. Ensure that you use an air compressor to ensure the smoothest finish possible. This will help you prevent orange peeling when painting.
Lack of consistency
Lack of consistency in paint when drying is a common problem with oil paint. It takes a long time to dry and it can be messy if there is a lack of consistency. Adding too much oil or too little solvent can break down the paint. Too much oil will disperse the pigment in the paint and it will dry too slowly. If the solvent is too heavy, the paint will break down and wrinkle. The best way to avoid this problem is to use a thinned paint first.
If the paint is too soft, you can add turpentine or oil of spike lavender to the mix. If you have the luxury of time and don’t want to wait 12 hours for the paint to dry, try adding a few drops of odourless mineral spirits. This can speed up the drying time by half. Make sure to ventilate your workspace while you are using the solvent. You can also mix the paint every few minutes.
Cheap emulsions
There are several reasons why cheap emulsions cause paint to look scratchy and patchy when drying. These include the following:
The cheap emulsion found in Wilko’s doesn’t have the consistency, opacity, or durability that you need for a durable and quality finish. It needs four or more coats to dry and look opaque. In contrast, Johnson’s Durable Matt emulsion is a premium matt paint that covers your walls with a single coat, despite the higher price.
Bad plastering is another factor behind the patchy look. If you find gaps in the wall, use a polyfilla to fill in the gaps. Alternatively, coat the whole wall with polyfilla to smooth out any bumps and gaps. The best way to prevent paint from looking patchy is to fix plaster problems. If you do have bad plastering, you can use polyfilla to fill in gaps and make the wall look smooth.
Poorly layered emulsions also result in poor-quality paint. Low-quality emulsions tend to look patchy after drying. This is because they do not contain high-quality pigments. It is also possible to use a cheap emulsion but it will be very expensive. In addition, cheap emulsions can cause paint to look patchy when drying.
About The Author

Gauthier Daniau is a freelance problem solver. He first discovered his knack for trouble-shooting when he was still in diapers - and hasn't looked back since. When he's not slaying zombies or internet ninjas, GAUTHIER enjoys working with animals of all shapes and sizes. He's also something of a social media expert and loves to get lost in numbers and figures.