
Last Updated on September 16, 2022
If you’ve ever wanted to make a Santos doll, but didn’t know how to go about it, you’ve come to the right place. In this article, I’ll show you how to create your very own Santos doll, complete with a Styrofoam body and a paperclay face. I also provide links to tutorials online for paperclay dolls.
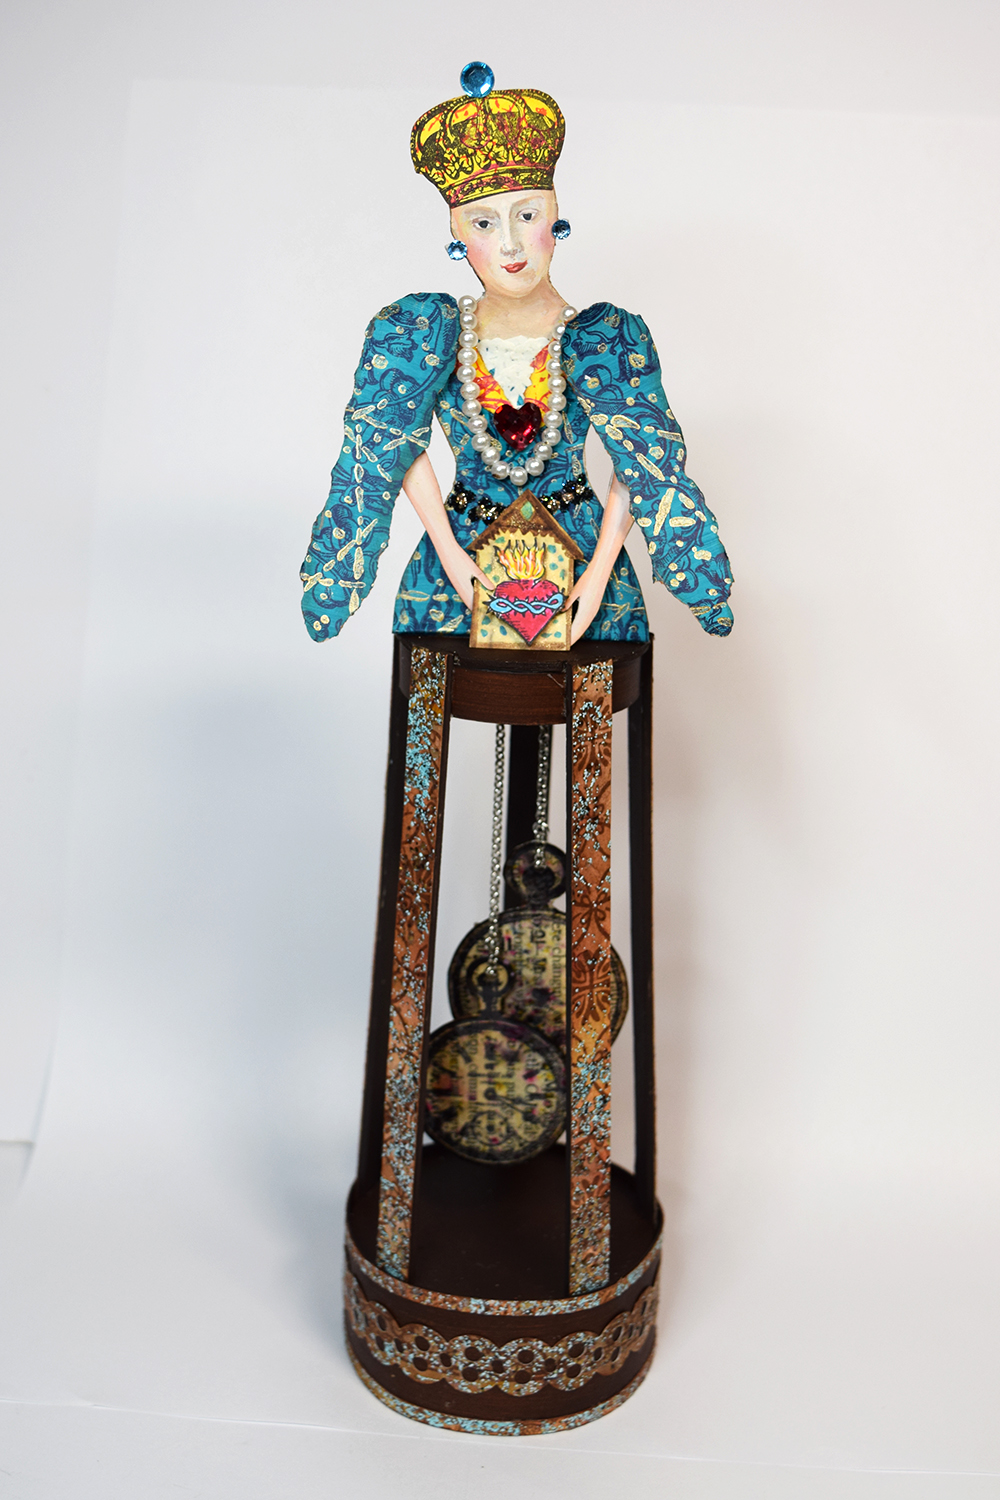
Santos Cage Dolls
If you’re interested in creating your own Santos cage dolls, you can purchase an original or buy a reproduction. Regardless of the type, Santos cage dolls are a statement piece for any room. The tall, articulated dolls are an excellent addition to a traditional decorating style. Here are a few tips for creating your own Santos dolls. Make sure to have patience and an open mind when working with these tiny dolls!
The first thing to remember is that Santos dolls are made in the image of saints, such as the Virgin Mary, Christ, and other patron saints. They are hand-carved and painted. They were originally brought to Latin America during the Spanish Colonial period, and were used in homes to convert the Native Americans to Catholicism. Although rare today, antique Santos dolls are still popular, and many contemporary reproductions are made with painted eyes.
Paperclay
To make paper clay Santa Claus dolls, you will need several basic materials. Creative Paperclay is available at Hobby Lobby and is soft, moldable, and easy to blend. A small paintbrush with a rounded tip is needed to mold the clay. It is also helpful to keep your fingers moist while you sculpt. A fat needle is also necessary for creating the wrinkles on his forehead.
The legs of the Santa are made of red and white clay. Cut a small angle at the top. Put the pretty sides of the fabric together and sew or glue the angle closed. Turn your Santa’s hat right side out. Cut a small piece of fur and sandwich it inside the hat. Finish the face with glue. Repeat the steps for the arms of Santa. You can now attach the legs and arms to complete the doll.
Styrofoam body
Make a body for your Santa Claus doll by using a sturdy paperback book. The spine should be sturdy and you should be able to separate approximately 200 pages with a utility knife. Then, place the upper right hand point down toward the spine, and the lower right hand point up toward the same. Once you’ve sliced through the paper, the two sides should line up. Then, glue them together to form a flat base.
Several companies sell large versions of these dolls. For example, in 1959, Pepsi produced an animated Santa with a treasure chest. Only fifteen of these models were created worldwide. Most were sold in midwestern and northeastern United States department stores. The other popular model in the same year was a Pepsi Santa, which had a ladder. It was also a limited edition.
After the success of the original Santa, Harold Gale created a small Santa in the 1980s. This was his first home display item. It was also the most popular of all his Santas, and was about ten inches tall and four and a half inches wide. His eyes and nose were made of molded plastic, and the body was constructed from styrofoam. Tolka referred to this version of Santa as the Master of Santa Claus.
Wire cage
You can make a wire cage Santa Claus doll by using a large tomato cage. You can also use a wire tomato cage for the legs of your Santa. Secure a large Styrofoam cooler inside the wire cage. This will serve as the foundation of your Santa’s torso. For the arms of your Santa, you can use flexible dryer vent hoses. Wrap them with thin wire and secure them to the cooler.
Next, you can make a pumpkin by stacking half-rings. Thread gauge 20 wire through the two half-rings, one on the inside and the other on the outside. Twist the wire to form a pumpkin shape. Bend the stem and tendrils to create a more realistic look. Repeat for the other half-ring. Once the pumpkin is complete, it’s ready to hang.
If you don’t want to use gauge 14 aluminum wire, you can use another type of bendable wire, such as gauge 20. Wrap gauge 14 aluminum wire to the top of the container, leaving about an inch of overlap. Then, tie a gauge 20 wire into the ring. Now, you’re ready to hang your wire cage! You’ll be ready to decorate your pumpkins and other fall decorations!
Sculpted from locally available wood
These charming Santas are made from locally available wood, and many collectors prize them for their detail and delicate details. These dolls feature realistic facial features, and can range from small to life-size. They’re crafted with care, so that each doll is as unique as the person who receives it. Each doll is also uniquely decorated with hand-painted wooden beads, nine tiny ornaments, and a gold star.
The dolls are carved by hand with locally-available wood and are then painted with a realistic finish. These wooden Santas are a great way to give children a special gift this holiday season. They make excellent gifts for children, and many are sold at Christmas. They can even be used to teach kids about the magic of giving and receiving gifts. These wooden dolls are crafted by skilled woodworkers in Mexico.
These Santas are so detailed that it takes a full three days to complete one. The process takes great care and patience, but the finished product is a beautiful and thoughtful gift for anyone. Some people prefer to buy one of the finished Santas from a local craft store. They’re also great for giving as gifts to people you know. Many of the Santas are sold as part of a kit that includes all patterns and instructions. You just need to add stuffing and a Christmas tree to complete the look of your handmade Santa.
Painted by hand
Dolls are a fun holiday craft for children. Many Santas come in different shapes, but one popular style is the Santa in his workshop. These Santas are small, resin figures with hand-painted faces and a solid body. This style does not include posing and has no removable parts. The first step in making your own Santa is to select a Santa doll mold. This will help you determine the right size and style for your doll.
Depending on the size of your dolls, you can choose from a variety of shapes and sizes. You can choose between traditional and burt wood styles, or you can try your hand at a different type of wood. Most dolls will be about three inches tall and two inches wide. However, if you’re looking for an even smaller, one-of-a-kind Santa, there are also plenty of kits available online.
Decorative items for dressing a santos doll
Decorative items for dressing a Santos doll can be anything from small figurines to elaborate robes. These dolls are truly works of art and are often painted in beautiful colors. They often have painted or glass eyes, making them extremely detailed. Antique Santos dolls are often quite expensive, but you can still find reproductions in good condition. More people are discovering Santos dolls as fine art pieces.
Decorative items for dressing a Santos doll may include jewels, beads, or tassels. While smaller dolls are often displayed in plain settings, the larger dolls are usually decorated with jewels. Although most Santos dolls are sold for religious use, many people also keep smaller ones as personal symbols of reverence. Decorative items for dressing a Santos doll are a beautiful way to add flair to a Santos doll.
The most expensive santos dolls are often adorned with high-quality wardrobe items. Most of these pieces are embroidered with gold thread. The finest pieces of santos clothing are made using French gold bullion thread. Most santos dolls also wear headdresses. The aureola is the most common headdress, and royal figures wear an additional corona.
About The Author

Mindy Vu is a part time shoe model and professional mum. She loves to cook and has been proclaimed the best cook in the world by her friends and family. She adores her pet dog Twinkie, and is happily married to her books.