
Are you a rifle enthusiast or avid hunter looking to customize and optimize your Savage Axis rifle? One of the key components that can greatly impact the performance and accuracy of your rifle is the barrel. Whether you’re seeking better precision, improved shooting distance, or simply want to experiment with different barrel options, changing the barrel of your Savage Axis can be a rewarding endeavor. In this comprehensive guide, we’ll take you through the step-by-step process of changing a Savage Axis barrel, ensuring you have the knowledge and confidence to tackle this task safely and effectively.
Understanding Barrel Specifications
Before diving into the process of changing a Savage Axis barrel, it’s essential to understand the different types of barrels available for your rifle and the factors to consider when selecting a new one. Savage Axis rifles typically offer various barrel options, including different lengths, contours, and materials. These specifications can impact factors such as weight, heat dissipation, and overall performance. When choosing a new barrel, factors like your shooting preferences, intended use, and budget should be taken into account.
Necessary Tools and Equipment
Before embarking on the barrel changing process, it’s important to gather the necessary tools and equipment to ensure a smooth and successful operation. Here’s a detailed list of the tools you’ll need:
Tools:
- Barrel wrench
- Action wrench
- Headspace gauges
- Torque wrench
- Screwdrivers (both flathead and Phillips)
- Punch set
- Gunsmithing vise
- Cleaning supplies
In addition to the tools, it’s crucial to prioritize safety. Make sure you have the following safety equipment:
Safety Equipment:
- Safety glasses
- Gloves
- Hearing protection
Investing in high-quality tools and safety equipment will not only make the process easier but also ensure your safety throughout the barrel changing process.
Preparation Before the Process

Before diving into the barrel changing process, it’s crucial to observe a few key safety measures. Begin by ensuring the rifle is unloaded and the chamber is clear of any ammunition. Double-checking the firearm’s safety is engaged is also essential.
Next, inspect both the rifle and the new barrel. Look for any signs of damage, defects, or excessive wear. Clean both the action and the barrel threads, removing any debris or residue that may hinder the installation process.
Now, let’s dive into the step-by-step process of changing the Savage Axis barrel:
Step-by-Step Process of Changing the Savage Axis Barrel
Step 1: Safely Unloading and Clearing the Rifle
The first step is to ensure the rifle is unloaded. Remove the magazine and visually inspect the chamber to ensure it is clear. Remember to always treat a firearm as if it is loaded and observe all necessary safety precautions.
Step 2: Removing the Old Barrel
To remove the old barrel, start by removing the bolt. Most Savage Axis rifles have a bolt release lever or button that allows you to pull the bolt straight out of the action. Set the bolt aside in a safe place.
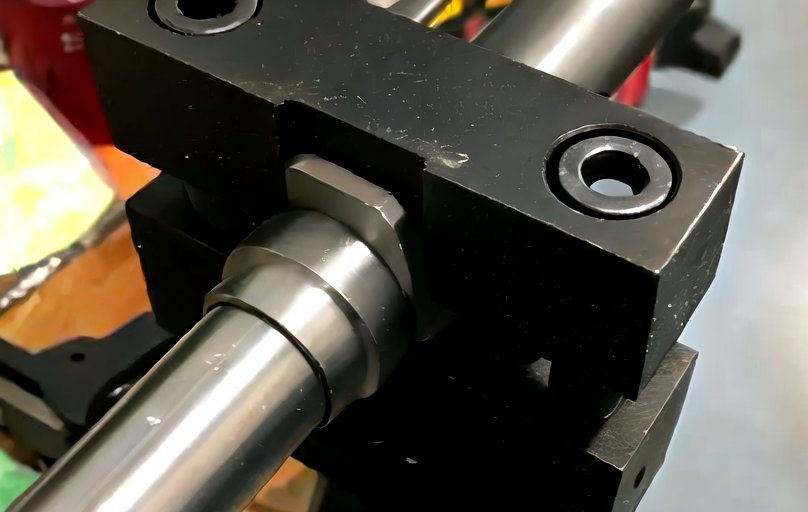
Next, use an action wrench to secure the rifle’s action in a gunsmithing vise. This will provide stability and prevent any movement during the barrel removal process.
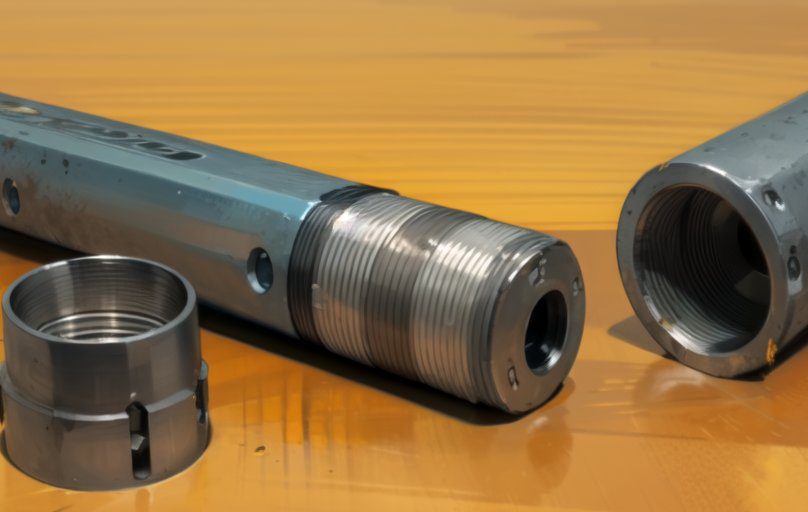
Locate the barrel nut, which is typically positioned near the front of the action. Using a barrel wrench, carefully loosen the barrel nut by turning it counterclockwise. Apply steady and even pressure to avoid damaging the barrel or the action.
Once the barrel nut is loose, you can unscrew the old barrel from the action. Rotate the barrel in a counterclockwise direction until it is completely detached. Be cautious as the barrel might still be under tension due to residual pressure.
Step 3: Preparing the New Barrel
Before installing the new barrel, it’s essential to ensure it is clean and free of any debris or contaminants. Use cleaning supplies to thoroughly clean the new barrel, including the bore and the barrel threads.
Inspect the new barrel for any potential defects, such as scratches or dents. Pay close attention to the muzzle crown, ensuring it is free from any damage that could affect accuracy.
Step 4: Installing the New Barrel
Begin the installation process by applying a small amount of anti-seize compound to the barrel threads. This will help prevent seizing and make future disassembly easier.
Align the new barrel with the action and start screwing it in clockwise. Ensure the barrel is properly aligned and threaded into the action. Use your hands to start the threading process, and then use the barrel wrench to tighten it further.
Refer to the manufacturer’s instructions or specifications to determine the appropriate torque value for tightening the barrel nut. Using a torque wrench, tighten the barrel nut to the recommended torque, ensuring it is secure and properly seated.
Step 5: Reassembling the Rifle
With the new barrel successfully installed, it’s time to reassemble the rifle. Start by carefully inserting the bolt back into the action until it is fully engaged. Ensure the bolt is functioning smoothly and securely.
Reinsert the magazine into the rifle and perform a function test to ensure everything is in working order. Cycle the bolt, engage and disengage the safety, and check the trigger function.
Aftercare and Maintenance
Once the barrel change is complete, it’s important to properly care for and maintain your new barrel to maximize its performance and lifespan. Regularly clean the barrel using appropriate cleaning supplies and techniques. Inspect the barrel periodically for signs of fouling, corrosion, or wear.
Additionally, ensure the rifle is stored in a safe and secure location, away from moisture and extreme temperatures. Consider using a protective case or gun safe to prevent damage and maintain the barrel’s condition over time.
Our Notes & Good Luck
Changing the barrel of your Savage Axis rifle can be a fulfilling and rewarding experience, allowing you to tailor your firearm to your specific needs and preferences. By following this step-by-step guide, utilizing the necessary tools and safety equipment, and observing proper maintenance practices, you can successfully change the barrel of your Savage Axis and enhance its performance and accuracy.
Remember, safety should always be your top priority when handling firearms. If you’re unsure or inexperienced, it’s recommended to seek the assistance of a professional gunsmith who can guide you through the process or perform the barrel change on your behalf.
So, get ready to embark on this exciting journey of customization and experimentation with your Savage Axis rifle. With the right tools, knowledge, and a commitment to safety, you’ll be able to change the barrel with confidence. Enjoy the process and the enhanced shooting experience that comes with it!
About The Author

Orochi Konya is a student of the web. He has been dabbling in it since he was young, and has become an expert in his own right. He loves all things digital, from making websites to programming to social media. In his spare time, Orochi enjoys indulging in his other passion: music. He loves listening to all kinds of music and often spends hours creating playlists on Spotify. He also enjoys drawing manga and watching anime in his free time. Orochi is a friendly pop-culture guru who is always happy to chat about the latest trends in both Japan and the U.S.