
Last Updated on July 27, 2023
Welcome to our guide on how to make a horse vaulting barrel. Horse vaulting is a unique and exciting sport that requires a sturdy and well-built barrel for practice and training. In this article, we will provide you with a step-by-step guide on how to construct your own horse vaulting barrel. We will discuss the materials needed, the construction process, and the finishing touches to ensure safety and functionality. Additionally, we will provide you with some tips and precautions for using a horse vaulting barrel. So, let’s get started on this exciting DIY project!
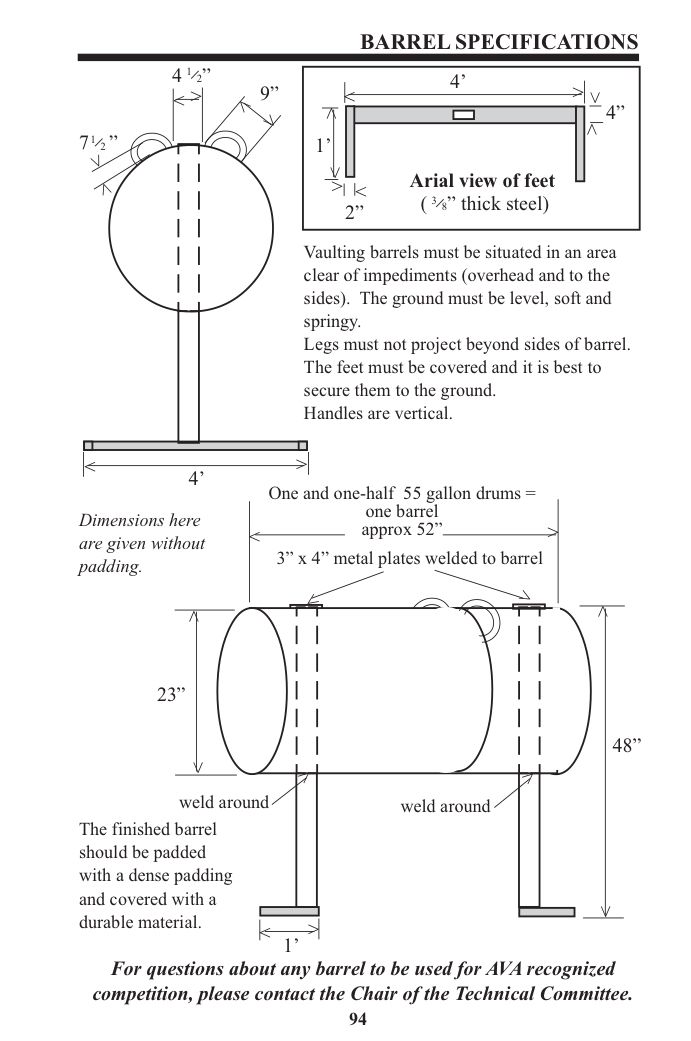
Materials needed for making a horse vaulting barrel
When it comes to making a horse vaulting barrel, there are several materials that you will need. These materials are essential for constructing a sturdy and safe barrel that can withstand the weight and movements of a vaulter. Here are the materials you will need:
- Wood planks or plywood sheets
- Nails or screws
- Wood glue
- Padding material (such as foam or batting)
- Upholstery fabric
- Handles or grips
- Paint and paintbrushes
- Decorative materials (such as stickers or stencils)
- Measuring tape
- Saw
- Drill
- Sandpaper
These materials can be easily found at your local hardware store or online. Make sure to gather all the necessary materials before starting the construction process.
Step 1: Building the base of the barrel
In this step, we will focus on constructing the base of the horse vaulting barrel. The base is an essential component as it provides stability and support to the entire structure. To begin, gather the necessary materials, including plywood, screws, and a saw. Measure and cut the plywood into the desired dimensions for the base. Next, assemble the pieces by screwing them together securely. It is important to ensure that the base is level and sturdy to prevent any accidents or injuries during use. Once the base is complete, you can move on to the next step of constructing the barrel’s frame.
Step 2: Constructing the barrel’s frame
Now that the base is ready, it’s time to focus on building the frame of the horse vaulting barrel. The frame provides the structure and shape to the barrel, allowing it to withstand the weight and movements of the vaulter. To construct the frame, you will need wooden planks, screws, and a drill. Measure and cut the planks according to the desired dimensions for the barrel’s height and diameter. Then, assemble the planks by screwing them together securely. It is crucial to ensure that the frame is strong and stable to support the vaulter’s weight. Once the frame is complete, you can proceed to the next step of adding padding and upholstery to enhance comfort and safety.
Step 2: Constructing the barrel’s frame
Once you have built the base of the horse vaulting barrel, it’s time to move on to constructing the frame. The frame is what will give the barrel its shape and stability.
First, you will need to cut four pieces of plywood to the desired height of your barrel. These pieces will serve as the sides of the frame. Make sure to measure and cut them accurately to ensure a proper fit.
Next, you will need to cut two circular pieces of plywood for the top and bottom of the barrel. These pieces should have the same diameter as the base you built in the previous step.
Once you have all the pieces cut, you can start assembling the frame. Begin by attaching the sides to the top and bottom circular pieces using screws or nails. Make sure to secure them tightly to ensure stability.
After the frame is assembled, you can reinforce it by adding additional support beams or braces. This will help to prevent any wobbling or collapsing while in use.
Once the frame is complete, you can move on to the next step of adding padding and upholstery to make the barrel comfortable for the horse and vaulter.
Step 3: Adding padding and upholstery
Once the frame of the horse vaulting barrel is complete, the next step is to add padding and upholstery to ensure the comfort and safety of the vaulter. Here are the steps to follow:
- Measure and cut foam padding to fit the top and sides of the barrel. The padding should be thick enough to provide cushioning but not too thick to affect the stability of the barrel.
- Secure the foam padding to the barrel using adhesive or upholstery tacks. Make sure the padding is evenly distributed and tightly secured.
- Next, cover the foam padding with upholstery fabric. Choose a durable and easy-to-clean fabric that is suitable for horse vaulting activities.
- Wrap the fabric tightly around the barrel and secure it in place using a staple gun or upholstery tacks. Make sure there are no loose or wrinkled areas that could cause discomfort or pose a safety risk.
- Trim any excess fabric and tuck the edges neatly for a finished look.
Adding padding and upholstery to the horse vaulting barrel not only enhances its appearance but also provides a comfortable and safe surface for the vaulter to perform their routines.
Step 4: Attaching handles and grips
Once the padding and upholstery are in place, the next step in making a horse vaulting barrel is to attach handles and grips. These will provide the vaulter with something to hold onto while performing various moves on the barrel. Here are the steps to follow:
- Measure and mark the desired locations for the handles and grips on the barrel.
- Drill holes at the marked locations using a drill bit that is slightly smaller than the diameter of the handles and grips.
- Insert the handles and grips into the drilled holes, making sure they are secure and do not wobble.
- Tighten any screws or bolts that are included with the handles and grips to ensure they are firmly attached to the barrel.
It is important to choose handles and grips that are comfortable to hold and provide a good grip. They should also be made of durable materials that can withstand the weight and pressure of the vaulter. Additionally, make sure the handles and grips are positioned at a height and angle that is suitable for the vaulter’s needs.
Once the handles and grips are securely attached, the horse vaulting barrel is almost complete. The final step is to paint and decorate the barrel, which will be covered in the next section.
Step 5: Painting and decorating the barrel
Once the construction of the horse vaulting barrel is complete, it’s time to add some finishing touches to make it visually appealing. Painting and decorating the barrel not only enhances its appearance but also adds a personal touch to the final product.
Start by sanding the surface of the barrel to ensure a smooth finish. This will help the paint adhere better and prevent any rough patches. Choose a paint color that complements your personal style or matches the theme of your equestrian facility.
Using a paintbrush or roller, apply a coat of primer to the entire surface of the barrel. This will create a base for the paint and help it last longer. Once the primer is dry, apply multiple coats of paint, allowing each coat to dry completely before applying the next.
After the paint has dried, you can get creative with decorations. Consider adding stencils, decals, or even hand-painted designs to make the barrel stand out. Just make sure to use non-toxic and horse-safe materials.
Once the painting and decorating process is complete, allow the barrel to dry thoroughly before using it. This will ensure that the paint is fully cured and won’t transfer onto clothing or the horse’s coat.
Step 6: Testing and Ensuring Safety Measures
Once you have completed the construction of your horse vaulting barrel, it is crucial to test it thoroughly and ensure that all necessary safety measures are in place. This step is essential to prevent any accidents or injuries during use.
Firstly, carefully inspect the barrel to make sure that all the components are securely fastened and there are no loose parts. Next, test the stability of the barrel by applying pressure from different angles. It should remain sturdy and not wobble or tip over.
Additionally, check the padding and upholstery to ensure that they are properly secured and provide adequate cushioning. Furthermore, examine the handles and grips to make sure they are firmly attached and can withstand the weight and pressure of the vaulter.
Finally, it is important to establish safety guidelines and precautions for using the horse vaulting barrel. This includes wearing appropriate protective gear, such as helmets and padding, and having a trained spotter or instructor present during vaulting sessions.
By following these testing and safety measures, you can ensure that your horse vaulting barrel is safe and ready for use.
Tips and Precautions for Using a Horse Vaulting Barrel
Using a horse vaulting barrel can be an exciting and challenging experience. However, it is important to keep in mind some tips and precautions to ensure your safety and the safety of the horse.
Tip 1: Warm-up and Stretching
Before starting any vaulting exercises, it is crucial to warm up your body and stretch your muscles. This will help prevent injuries and improve your performance. Focus on stretching your legs, back, and arms, as these are the main areas used during vaulting.
Tip 2: Start with Basic Movements
If you are new to horse vaulting, it is recommended to start with basic movements and gradually progress to more advanced ones. This will allow you to build strength, balance, and coordination before attempting more complex exercises.
Remember: Always listen to your body and don’t push yourself too hard. Take breaks when needed and don’t attempt any movements that you are not comfortable with.
Precaution: Use Proper Safety Gear
When using a horse vaulting barrel, it is essential to wear the appropriate safety gear. This includes a well-fitted helmet, sturdy shoes with a good grip, and comfortable clothing that allows for freedom of movement. Safety gear will protect you in case of falls or accidents.
Important: Never attempt horse vaulting without proper supervision and guidance from a trained professional. They will ensure that you are using the barrel correctly and following the necessary safety precautions.
By following these tips and precautions, you can enjoy the exhilarating experience of horse vaulting while minimizing the risk of injuries. Remember to always prioritize safety and have fun!
Wrapping it Up: Creating Your Own Horse Vaulting Barrel
After following the step-by-step guide on how to make a horse vaulting barrel, you are now equipped with the knowledge and skills to create your very own. By carefully constructing the base, frame, and adding the necessary padding and upholstery, you have created a safe and comfortable apparatus for horse vaulting.
Remember to attach handles and grips securely, ensuring stability and ease of use. Once the construction is complete, take the time to paint and decorate the barrel to your liking, adding a personal touch to your creation.
However, it is crucial to prioritize safety when using a horse vaulting barrel. Always test the barrel and ensure that all safety measures are in place before attempting any vaulting exercises. Additionally, follow the provided tips and precautions to minimize the risk of accidents or injuries.
Now that you have the necessary information, materials, and instructions, it’s time to unleash your creativity and build your own horse vaulting barrel. Get ready to embark on an exciting journey of horse vaulting and enjoy the benefits of this unique and exhilarating sport!
Learn how to make a horse vaulting barrel with this step-by-step guide. Create a safe and sturdy barrel for practicing horse vaulting.
About The Author

Zeph Grant is a music fanatic. He loves all types of genres and can often be found discussing the latest album releases with friends. Zeph is also a hardcore content creator, always working on new projects in his spare time. He's an amateur food nerd, and loves knowing all sorts of random facts about food. When it comes to coffee, he's something of an expert - he knows all the best places to get a good cup of joe in town.