
Last Updated on July 27, 2023
Welcome to our article on how to install windsocks. If you’ve ever wondered what those colorful fabric tubes waving in the wind are, you’re in the right place. In this guide, we will explore the world of windsocks, their importance, and how to properly install them. Whether you’re a pilot, a sailor, or simply someone who enjoys the outdoors, understanding wind direction is crucial for safety and efficiency. We will also discuss the tools and materials needed for installation, as well as provide a step-by-step guide to help you through the process. So, let’s dive in and learn all about windsocks!
What is a windsock?
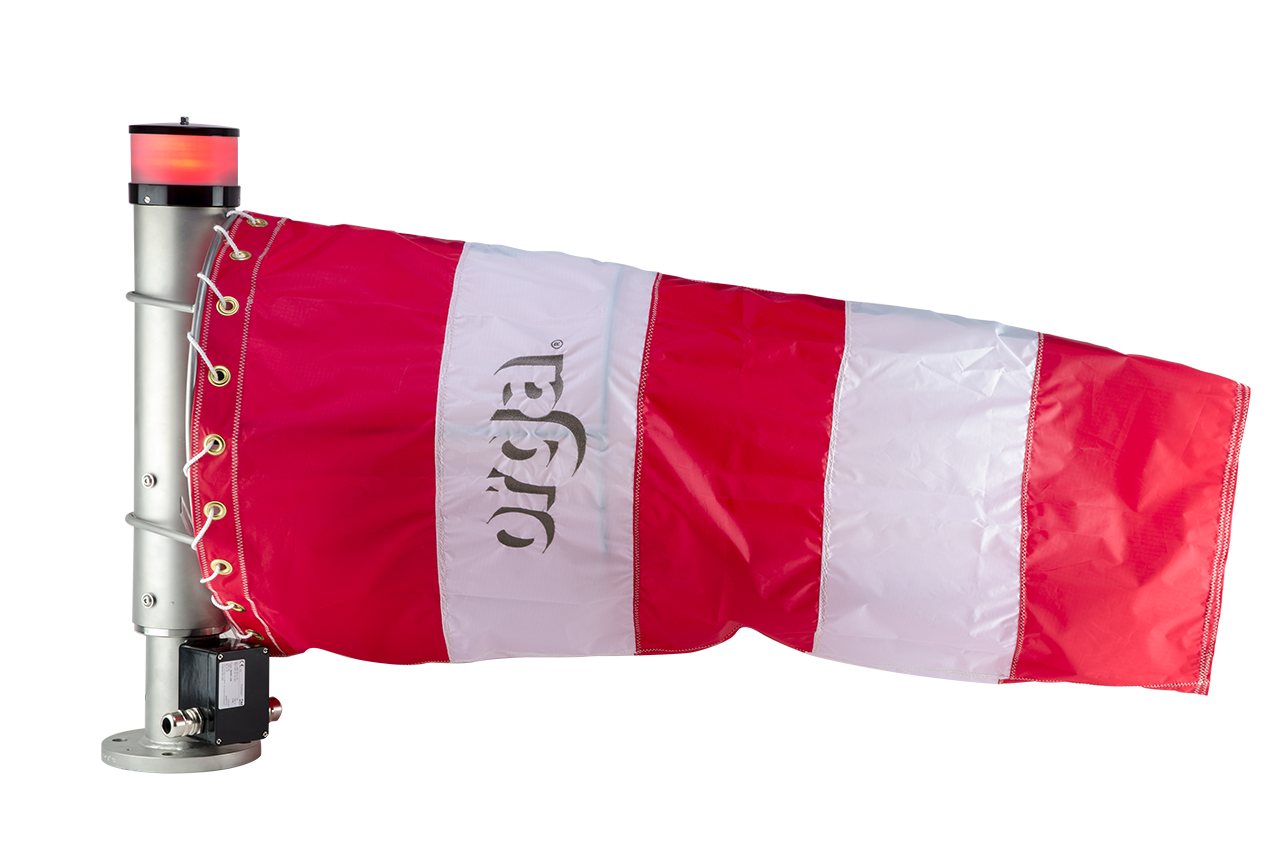
A windsock is a conical-shaped fabric tube that is used to indicate wind direction and speed. It is typically made of durable materials such as nylon or polyester and is designed to be highly visible.
- Windsocks are commonly used in aviation, marine, and industrial settings to provide important information about wind conditions.
- They are often found at airports, helipads, and seaports to assist pilots and sailors in making safe landing and takeoff decisions.
- Windsocks are also used in construction sites, chemical plants, and other industrial facilities to ensure the safety of workers and equipment.
Overall, windsocks play a crucial role in maintaining safety and efficiency in various industries.
Importance of windsocks
Windsocks may seem like a simple and insignificant object, but they play a crucial role in various industries and activities. Understanding the importance of windsocks is essential for anyone considering installing one.
Aviation: Windsocks are vital for pilots and air traffic controllers as they provide crucial information about wind direction and speed. This information is crucial for safe takeoffs, landings, and navigation. Without windsocks, pilots would be left guessing, which could lead to disastrous consequences.
Marine: Windsocks are also used in the maritime industry to assist sailors and boat operators. They help determine wind conditions, which is crucial for sail adjustments and navigation. Windsocks can help prevent accidents and ensure a smooth sailing experience.
Construction: In construction sites, windsocks are used to monitor wind conditions. Strong winds can pose a safety risk, especially when working at heights or with heavy machinery. Windsocks help workers assess the wind’s strength and take necessary precautions to ensure their safety.
Recreational activities: Windsocks are also used in various recreational activities such as paragliding, kiteboarding, and skydiving. These activities heavily rely on wind conditions, and windsocks provide valuable information to participants, ensuring their safety and enhancing their overall experience.
Overall, windsocks are not just decorative objects; they serve a vital purpose in multiple industries and activities. Installing a windsock in the right location can greatly enhance safety and efficiency, making it a worthwhile investment.
Choosing the right location for installation
When it comes to installing a windsock, choosing the right location is crucial for its effectiveness. The windsock should be placed in an area where it can be easily seen by pilots and other personnel who rely on wind direction information. Ideally, it should be installed in an open space, away from any obstructions such as trees or buildings, which could interfere with the wind flow.
Additionally, the windsock should be positioned in a location where it can catch the prevailing wind patterns. This means that it should be placed in an area where the wind is not blocked by any structures or natural barriers. By doing so, the windsock will provide accurate and reliable wind direction information.
Furthermore, it is important to consider the height at which the windsock is installed. It should be positioned at a height that allows for easy visibility from a distance. This will ensure that pilots and other personnel can easily spot the windsock and make informed decisions based on the wind direction.
5. Tools and materials needed for installation
Before you begin installing a windsock, it is important to gather all the necessary tools and materials. Here is a list of what you will need:
- Windsock – Make sure you have the correct size and type of windsock for your specific needs.
- Pole – Choose a sturdy pole that is tall enough to properly display the windsock.
- Mounting hardware – This includes brackets, screws, and any other necessary hardware to securely attach the pole to the ground or a building.
- Concrete or soil – Depending on the type of installation, you may need concrete or soil to secure the pole in place.
- Tools – You will need a shovel or post hole digger to dig a hole for the pole, as well as a level to ensure the pole is straight.
- Optional accessories – If desired, you can also purchase additional accessories such as a windsock frame or lighting for nighttime visibility.
Having all of these tools and materials ready before you start the installation process will help ensure a smooth and successful installation.
Step-by-step guide to installing a windsock
Installing a windsock may seem like a daunting task, but with the right tools and materials, it can be done easily. Follow these steps to ensure a successful installation:
-
Choose the location
Before installing the windsock, it is important to choose the right location. Look for an area that is open and free from obstructions, such as trees or buildings. The windsock should be easily visible and accessible.
-
Gather the tools and materials
Make sure you have all the necessary tools and materials before starting the installation. You will need a ladder, a drill, screws, a windsock pole, and any additional hardware that may be required.
-
Prepare the installation site
Clean the area where the windsock will be installed. Remove any debris or obstacles that may interfere with the installation process.
-
Attach the windsock pole
Using the drill and screws, attach the windsock pole to a sturdy surface, such as a building or a pole. Make sure it is securely fastened to withstand strong winds.
-
Hang the windsock
Slide the windsock onto the pole, making sure it is facing the right direction. Secure it in place using any additional hardware provided.
-
Test the windsock
Once the windsock is installed, test it by observing its movement in the wind. It should rotate freely and indicate the direction and strength of the wind.
By following these steps, you can successfully install a windsock and ensure accurate wind direction readings. Remember to always prioritize safety and consult the manufacturer’s instructions for specific installation guidelines.
Safety Precautions During Installation
When installing a windsock, it is important to prioritize safety to prevent any accidents or injuries. Here are some key safety precautions to keep in mind:
1. Wear protective gear
Before starting the installation process, make sure to wear appropriate protective gear such as gloves and safety goggles. This will help protect your hands and eyes from any potential hazards.
2. Use a sturdy ladder
If the windsock needs to be installed at a height, use a sturdy ladder that is in good condition. Ensure that the ladder is placed on a stable surface and is securely positioned before climbing up.
3. Avoid electrical hazards
If the windsock installation requires working near power lines or electrical equipment, take extra precautions to avoid electrical hazards. Keep a safe distance from any live wires and be aware of your surroundings at all times.
4. Work in pairs
It is always recommended to have someone else present during the installation process. This person can assist you, provide support, and help in case of any emergencies.
By following these safety precautions, you can ensure a safe and successful installation of your windsock. Remember, safety should always be the top priority when working with any equipment or tools.
Maintenance and Care for Windsocks
Once you have successfully installed a windsock, it is important to properly maintain and care for it to ensure its longevity and effectiveness. Here are some tips on how to do so:
Regular Cleaning
Windsocks can accumulate dirt, dust, and debris over time, which can affect their visibility and accuracy. It is recommended to clean the windsock regularly using mild soap and water. Gently scrub the surface of the windsock and rinse it thoroughly. Allow it to air dry before reinstalling.
Inspect for Damage
Regularly inspect the windsock for any signs of damage, such as tears, fraying, or fading. If you notice any issues, it is important to address them promptly. Small tears can be repaired using a patch kit, while severely damaged windsocks may need to be replaced.
Check the Mounting Hardware
Ensure that the mounting hardware, such as the pole or bracket, is secure and in good condition. Tighten any loose screws or bolts and replace any damaged parts if necessary.
Monitor Windsock Performance
Keep an eye on the windsock’s performance. If you notice any significant changes in its movement or if it becomes less responsive to wind direction, it may indicate a problem. Troubleshoot the issue or seek professional assistance if needed.
By following these maintenance and care tips, you can ensure that your windsock remains in optimal condition and continues to provide accurate wind direction information.
Troubleshooting common issues
Even with proper installation and regular maintenance, windsocks can sometimes encounter issues that need to be addressed. Here are some common problems that you may encounter and how to troubleshoot them:
1. Fading colors
Over time, the vibrant colors of your windsock may start to fade due to exposure to sunlight and harsh weather conditions. To prevent this, consider purchasing a windsock made from UV-resistant materials. If your windsock has already faded, you can try using fabric dye or paint to restore its color.
2. Torn or frayed fabric
Strong winds or sharp objects can cause the fabric of your windsock to tear or fray. If the damage is minor, you can repair it using a needle and thread. However, if the damage is extensive, it may be necessary to replace the entire windsock.
3. Twisted or tangled windsock
Occasionally, windsocks can become twisted or tangled, affecting their ability to accurately indicate wind direction. To fix this issue, carefully untangle the windsock and ensure that it is properly attached to the pole or frame.
By addressing these common issues promptly, you can ensure that your windsock continues to function effectively and provide accurate wind direction information.
Wrapping it Up: The Importance of Windsock Installation
Installing windsocks may seem like a simple task, but it plays a crucial role in various industries. Whether it’s at airports, construction sites, or even farms, windsocks provide valuable information about wind direction and speed. This information is vital for ensuring safety and efficiency in these environments.
Throughout this article, we have discussed the significance of windsocks and the steps involved in their installation. We have emphasized the importance of choosing the right location, using the appropriate tools and materials, and following safety precautions during the installation process.
By properly maintaining and caring for windsocks, you can ensure their longevity and accuracy. Regular inspections and prompt troubleshooting of common issues will help keep your windsocks in optimal condition.
In conclusion, windsock installation is not just a matter of aesthetics; it is a matter of safety and efficiency. By following the guidelines outlined in this article, you can install windsocks effectively and contribute to a safer working environment. So, go ahead and install windsocks with confidence, knowing that you are making a valuable contribution to your industry.Learn how to install windsocks with this step-by-step guide. Discover the importance of windsocks and how to choose the right location for installation.
About The Author

Alison Sowle is the typical tv guru. With a social media evangelist background, she knows how to get her message out there. However, she's also an introvert at heart and loves nothing more than writing for hours on end. She's a passionate creator who takes great joy in learning about new cultures - especially when it comes to beer!