
Last Updated on September 17, 2022
When you are wallpapering, it’s important to understand how long it takes for plaster to dry. This article will talk about the process of sizing the walls and allowing the plaster to dry naturally before applying wallpaper. We’ll also cover the process of speeding up the drying process. Finally, we’ll discuss how to check for moisture absorption in the walls before applying wallpaper. If you’re not sure how to do these things, read on!
Size walls before wallpapering
Using sizing solution on the wall before papering is a good way to make the paper stick to it better. It creates a slightly glossy surface to slide the paper over. It also helps prevent the paper from sliding on the wall, which will make removing the wallpaper easier. However, papering walls without sizing solution will look unprofessional and messy. You can get sizing solution from your local DIY store.
You can use ordinary wallpaper paste as a substitute for sizing powder. Simply dilute it with water until it is the consistency of thin latex paint. Once this mixture dries, you are ready to hang your wallpaper. Different types of wallpaper require different amounts of sizing solution. A general rule is to use 25% more water than you would normally use in a paste. Once the size has set, the wallpaper can be pasted.
It’s a good idea to prime walls before applying wallpaper. This will prevent moisture from penetrating the wall and making the wallpaper impossible to remove. In addition to making hanging the wallpaper easier, primers will also prevent the adhesive from soaking into the wall. However, they aren’t always necessary if the walls are already painted. However, if you want to make removing the wallpaper easier, you should use primers with sizing.
Make sure to size the wall properly before you start. Start with the focal point of your room. You can also start with a small patterned paper. When measuring, always make sure that you use the right side of the paper. And don’t forget to use offcuts to cover any mistakes you make. This way, you can ensure the perfect placement of the wallpaper. This will prevent the wallpaper from falling out of the walls and create a perfect finish.
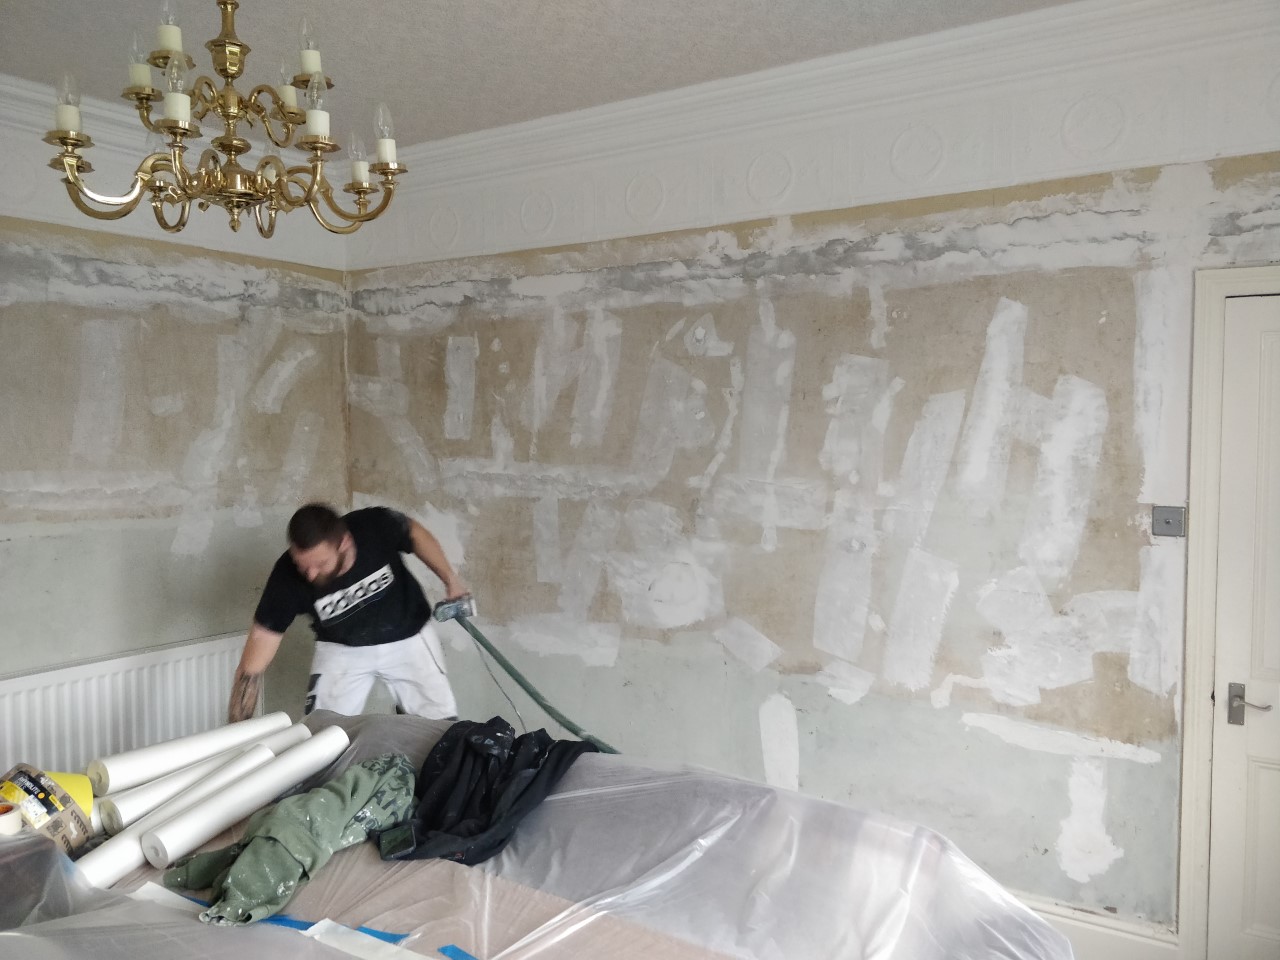
Preparing the walls is one of the most important steps before wallpapering. This is a messy job, and you have to be extremely precise. You want your wallpaper to look professional, so be sure to prepare your walls for it. If you’ve removed the old wallpaper, you should apply a wall filler or sand the patches that have stuck to the wall. Also, wash the walls with a sugar soap to remove any lingering grease or dirt.
Allowing plaster to dry naturally
If you are considering plastering your walls, you should allow them to dry naturally first before you start hanging wallpaper. The longer you leave it, the better the results will be, and the more time you have to let it dry, the better. Plastering a room in winter or in a damp property can take up to 50% longer than normal, so you will want to allow plenty of time for the room to dry naturally. Never use a dehumidifier to speed up the drying process. This can actually impede the process and lead to hairline cracks.
Allowing the plaster to dry naturally is essential because it will be much harder to apply wallpaper once it has dried completely. If you wait too long, you will have to reapply wallpaper or let it dry longer than normal, which could result in a patchy finish. If you are painting multiple areas of a room, you will need to allow more time than usual. If you do not allow the plaster to dry completely, you could end up with a wall that looks patchy and discoloured.
To prevent cracks and bubbles, let the plaster dry before you apply any wallpaper. A watered-down paste mixture will help seal the new plaster, as well as provide enough manoeuvrability to position the wallpaper. When applying traditional wallpaper, you must carefully paste each sheet of paper before hanging it, but this won’t take long with watered-down plaster. It is also a good idea to seal the plaster before you apply the wallpaper, as this will prevent flaking and bubbling of the paint.
You can also check whether the plaster has completely dried before wallpapering. Remember to allow a week or more after plastering to be sure that it’s completely dry. After a week, you can apply wallpaper or paint. After a week, you should check for dark patches and ensure that it is completely dry. The more time you give the plaster to dry, the better it will look and feel. If the plaster is still damp, wait another day before you start the process again.
Speeding up the drying process
If you want your plaster to be dry and ready for wallpapering as soon as possible, you can use a dehumidifier. These devices circulate air around the room but don’t reduce the humidity. You can also use a heater to speed up the drying process. While a dehumidifier can speed up the process, it can damage the finished results. Regardless of whether you’re plastering your house in the winter or summer, you should leave enough time for the plaster to dry.
Plastering is a fun and exciting process, but failing to give it enough time to dry can be a major issue. Plastering techniques have changed over the centuries and homeowners may be getting outdated information. If you have plastering experience, you probably have seen Egyptian pyramids, which might display evidence of this process. However, it’s no longer necessary to wait for hours or days to dry the plaster.
Plaster drying time varies by region. Some parts of a room will dry faster than others. The thickness of the plaster also affects the drying time. Another important factor is the natural current in the room. In the winter, the lack of natural sunlight can cause the plaster to dry slower. Using a space dehumidifier can help speed up the drying process. The process should last at least seven days.
Another way to speed up the plaster drying process is to apply an undercoat of plaster. A second type of plaster is known as finishing plaster. It goes on top of the undercoat plaster and is often decorative or a base for wallpaper. It can take between four and seven days to dry. In comparison, an undercoat variety takes ninety minutes to dry. However, a high-quality finish plaster needs at least three days to fully dry.
A heater can speed up the plaster drying process but it should never be used to hurry the process. A heater is not a substitute for a dehumidifier and can actually make the plaster dry faster. It is also important to make sure that the room is heated to a comfortable temperature. Plaster can dry faster if it is kept above forty-one degrees Fahrenheit. Plastering in this temperature can make the bond between the cement and the plaster weak.
Checking the wall for moisture absorption
If you’re planning to paint or wallpaper your wall, check its moisture content first. Wood wall materials absorb moisture from the surrounding environment. This may cause them to swell or shrink. If you’re unsure if your wall is safe, check it with a moisture meter before you proceed. If you don’t have one, you can borrow one from a friend or use a measuring tape.
If your walls are prone to absorbing moisture, you should wait at least a few days before you try to wallpaper. Water will cause paint to peel, wallpaper to bubble and sheetrock to warp. Excessive warping of the walls is structurally damaging and may require costly repairs. Before you begin, measure the wall area to ensure it is dry. Otherwise, you may be disappointed when you realize it’s not ready.
If your wall is fully absorbent, you can successfully remove old wallpaper. However, before you can wallpaper, the wall surface must be smooth, firm, and even. The wall surface should also be fully absorbent. These characteristics aren’t visible to the naked eye, so you must check them with a water test. If it is too absorbent, you might have problems with wallpaper paste or experience splitting seams.
Water-proofing your home’s exterior walls is a great way to prevent the problem from affecting your interior walls. When done properly, polystyrene adheres to plasterboard and creates a barrier against moisture. Moisture in the wall can cause mold and mildew, which are both hazardous to your health. To prevent such problems, you should install waterproof wall treatments or consider basement waterproofing.
About The Author

Mindy Vu is a part time shoe model and professional mum. She loves to cook and has been proclaimed the best cook in the world by her friends and family. She adores her pet dog Twinkie, and is happily married to her books.