
Last Updated on September 16, 2022
This article will show you how to build a pvc ferris-wheel with repurposed Popsicle sticks. Learn how to add starburst shapes and spin it. You can use this project to make a fun-filled attraction for your next Vacation Bible School or kids’ birthday party. Follow these steps for a great Ferris wheel for your next gathering. Once you have the materials, you can start working on your project.
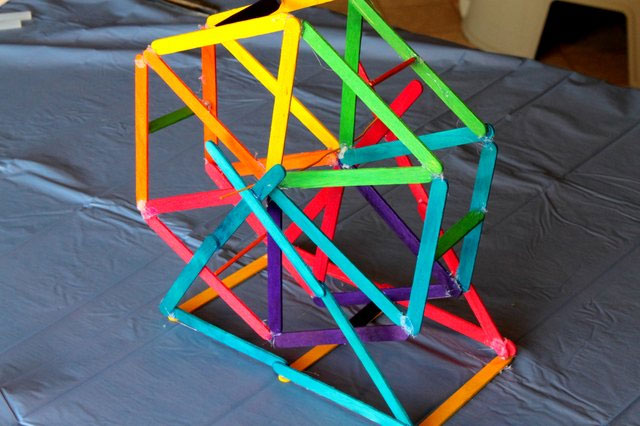
Reuse Popsicle sticks to build a pvc ferris wheel
This simple DIY project for building a ferris wheel is an excellent way to use up leftover Popsicle sticks. You can use around 50 sticks to build the wheel, and you can paint the wooden stick ferris wheel for a more colorful appearance. This project is best for older children, however, as it can be fragile. To ensure safety, use the appropriate glue and other materials.
First, you’ll need to break a few Popsicle sticks into triangles. Each triangle should be spaced equally apart. For a six-sided wheel, you’ll need at least three sticks. Next, you’ll need to create two large triangles to serve as the base for the wheel. The base triangles should have more sticks per side than the wheels. Make sure the bottom of the base triangle meets with the top of the top triangle to form a “Y” shape.
Y ou can even create a custom design using Pixar Pal-A-Round characters. You can print the characters on cardstock and glue them to the car-shaped ferris wheel. For extra color, you can use different colored paints for the cars on the wheel. Once assembled, you can make two more cars, one for each side of the wheel. After you’ve built the ferris wheel, you can make a second one using the same process.
Add starburst shapes
There are many ways to make a Ferris wheel spin, from blowing on it to flicking a gondola. Make the wheels spin faster, slower, or in any direction you want! This is a great project for kids of all ages! Once you have completed your Ferris wheel, you can add starburst shapes to it! Add some fun and unique colors by choosing different shapes for the spokes of the wheel.
First, bend the skewers into an X. The X should be wider on the bottom half and narrower at the top. This will support the central support pole. Next, glue them together where the skewers cross. You may want to use tape to hold them together. Then, insert a second X, allowing the glue to dry completely. Your completed Ferris wheel will now tilt on its axis.
Make it spin
When you’re done building your pvc Ferris wheel, you’ll be ready to add a fun and colorful Mickey face. The design will make your little one wonder why the wheel doesn’t stop spinning on its own. You can print out a starburst template and trace it onto a piece of paper. Then, cut it out, using an x-acto knife. Repeat for the other two starbursts. Next, make a hole in one of them with an awl. Add a Mickey face to the smaller starburst. Then, glue the dowel onto the smaller starburst.
To make the wheels’ legs, you can use bamboo skewers. You should insert them into the foam base about an inch from each corner. Make sure that the skewers don’t poke out on the other side. Now, it’s time to put in the skewers. Make sure that each one is inserted about one inch from a corner and doesn’t stick out on the other side.
To construct the wheels’ spokes, first, you need to make a base for them. Use jumbo popsicle sticks as the base for the wheel. Glue them into place. Next, you’ll need to make the spokes from 8 popsicle sticks. Don’t forget to glue them into place, and make sure that they are all level with the rest of the supports.
Before you start building the wheel’s gondolas, you’ll need to gather some materials. PVC pieces are generally easy to bend and are inexpensive to purchase at craft stores. Also, wood is a safer choice for your children. Wooden balls also add an elegant look to your creation. And if you’re not sure about safety, you can always decorate your wooden Ferris wheel with Christmas lights.
Once the base is made, you can attach the clear acrylic sides. Attach the wheel to it. Then, insert a 0.6″ dowel into the center section of the wheel. Make sure that the small gear matches the big gear. Finally, attach the small gear and end caps. Once the wheel is powered, the kids will enjoy watching the wheel spin. This is a simple and inexpensive way to create a fun, safe, and educational Ferris wheel.
Now, you can add the cars and add stars. You can add different colors to the cars. You can also paint the wheel or mix colors. For example, you could use blue and red for the cars, and black for the ferris wheel. It’s a perfect project for kids to do with their friends and family! You can even make your own custom-made Ferris wheel! Now, all you have to do is add a few more accessories to complete the look.
About The Author

Wendy Lee is a pop culture ninja who knows all the latest trends and gossip. She's also an animal lover, and will be friends with any creature that crosses her path. Wendy is an expert writer and can tackle any subject with ease. But most of all, she loves to travel - and she's not afraid to evangelize about it to anyone who'll listen! Wendy enjoys all kinds of Asian food and cultures, and she considers herself a bit of a ninja when it comes to eating spicy foods.