
In this article, we’ll talk about how to use a hump jump for sewing over a humps, through bulky fabric, and for patch pockets. Whether you’re sewing a shirt, pants, or jeans, there’s an easy way to utilize the hump to your advantage. Read on to find out more! Then, get out your sewing machine and learn how to use a hump jumper in sewing.
Using a hump jumper to sew over a hump
If your seams are uneven, a humpstitching hump jumper will be your best friend. These simple gadgets will help you keep your machine’s presser foot level while sewing. This way, you’ll get even stitches with no chance of breaking your needle. To use one of these devices, place a hump jumper behind your needle, right where the needle will begin stitching. You can also make one out of a wedge of cardboard to sew over a hump.
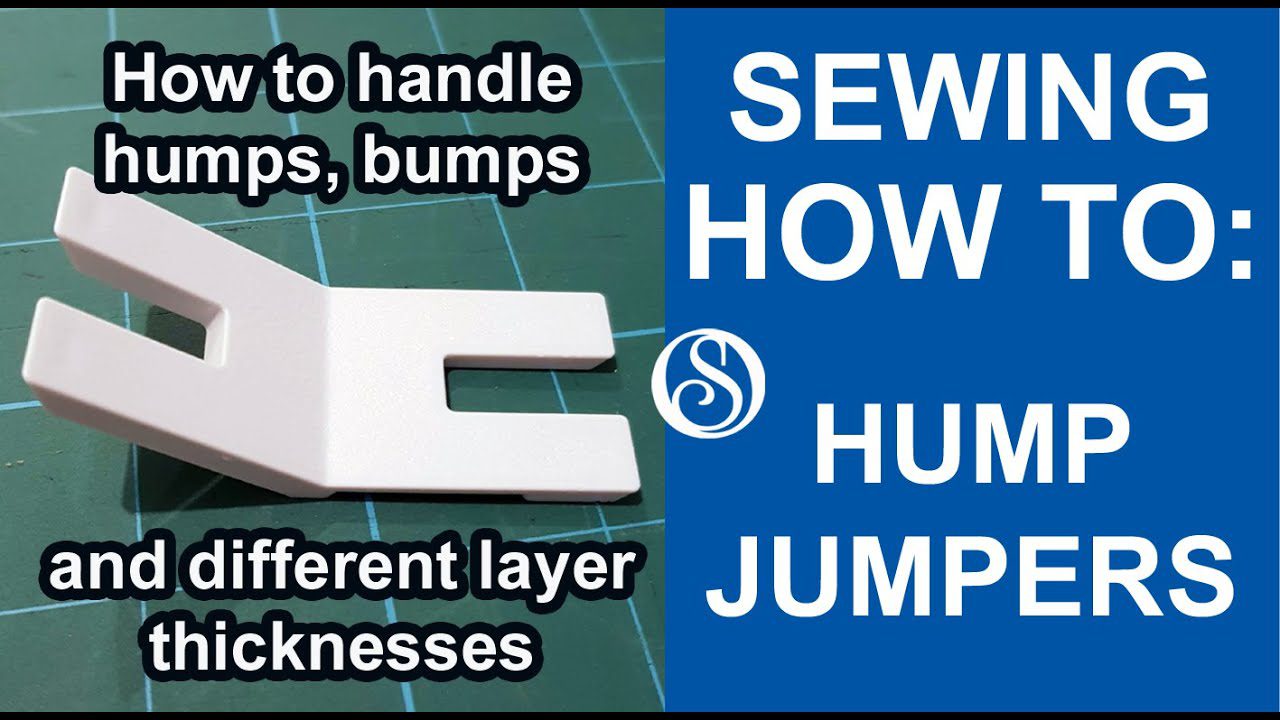
The hump jumper is simply a bent piece of yellow plastic. These are great for sewing over a hump and are available in two different thicknesses, 1/16th and 1/8th. You can use the thinner one for sheer fabric. A hump jumper is a great way to avoid those annoying sewing humps!
Another great use for a hump jumper is for sewing over thick seams. Without one, the sewing foot could get stuck and skip stitches. The hump jumper allows you to sew over the humps and keep your machine level while sewing. You’ll never have to worry about a missed stitch or spending money on a new needle again. It’s a must-have sewing accessory for any sewer who sews layered fabrics.
For super-thick seams, a hump jumper makes sewing a cinch. Place a hump jumper under your presser foot and sew the thick side of the seam. Then, adjust your foot and presser to maintain a straight line on the machine bed. Then, repeat the process, but place the hump jumper underneath the foot again and lower it over the other end of the seam.
Using a hump jumper to sew through bulky fabrics
Sewing through thick seams can be a challenge – not only are they unattractive, but they also make your needle and presser foot work overtime, which can lead to missed stitches and uneven feeds. But if you’re not one for re-threading needles, a hump jumper can be a great solution to this problem.
To use a hump jumper to sewin through bulky fabrics, simply place the hump in front of your needle and lower the presser foot. You can use a single layer of fabric, or three layers of bulky fabric. It’s a great solution to uneven stitches, which will increase your chances of breaking a needle. And as the hump jumper has a rounded shape, it can be used as a needle inserter as well.
Using a hump jumper to sew a patch pocket
If you are sewing a patch pocket, you may want to use a hump jumper to help level your presser foot. This tool is useful for sewing over top of thick fabric, and can be switched to the front of the needle for heavier fabrics. You may also want to try using a hand-knot or backstitch to lock the edges of your patch pocket.
To use a hump jumper, place a piece of folded fabric under the presser foot. Then, use the walking foot or even feed foot to guide your stitching. Make sure you use a stitching foot that is wide enough to accommodate the patch pocket. After that, you can sew the pocket in place using a zigzag stitch.
Another benefit to using a hump jumper is that it keeps the needle in position while sewing. A thick seam will cause the presser foot to slant, which will cause it to miss stitches and increase your needle cost. This is especially useful when sewing layered fabrics, such as denim and pants. It’s also useful when sewing zippers or belt loops.
The next advantage of using a hump jumper for sewing patch pockets is that it can be used to make thick seams in your sewing project. You can use it to sew over a thick seam by placing the jumper under it. To make the seam secure, you can add stitches around the outside edge of the patch to reinforce the seam. If your patch is too thick to fit through the presser foot, you can place a hump jumper at the front of the seam.
You can also add a patch to any type of garment. Helen has made patch pockets for many garments, including dresses, pants, and skirts. She was able to sew one from a hump jumper and it was relatively easy to do. You can even embellish the patch with a patch or hand embroidery. And remember that the patch pocket is not only functional – it also looks fantastic.
Before starting the sewing process, you should draft the patch pocket. If the pocket is not a rectangular shape, you should make a template out of cardstock. This is also known as a jig. The template is cut out the size of the patch pocket. Lay it out on the pocket piece and fold the seam allowance over the cardstock. After sewing, topstitch the patch pocket on the garment.
If you have never sewn a patch pocket before, you might want to start with a hump jumper. The shape is easy to figure out, and you can use the pieces for other garments. You can also use the pattern pieces for a patch pocket. If you don’t want to purchase a patch pocket pattern, you can also find a hump jumper that has one in its seam.
About The Author

Mindy Vu is a part time shoe model and professional mum. She loves to cook and has been proclaimed the best cook in the world by her friends and family. She adores her pet dog Twinkie, and is happily married to her books.